
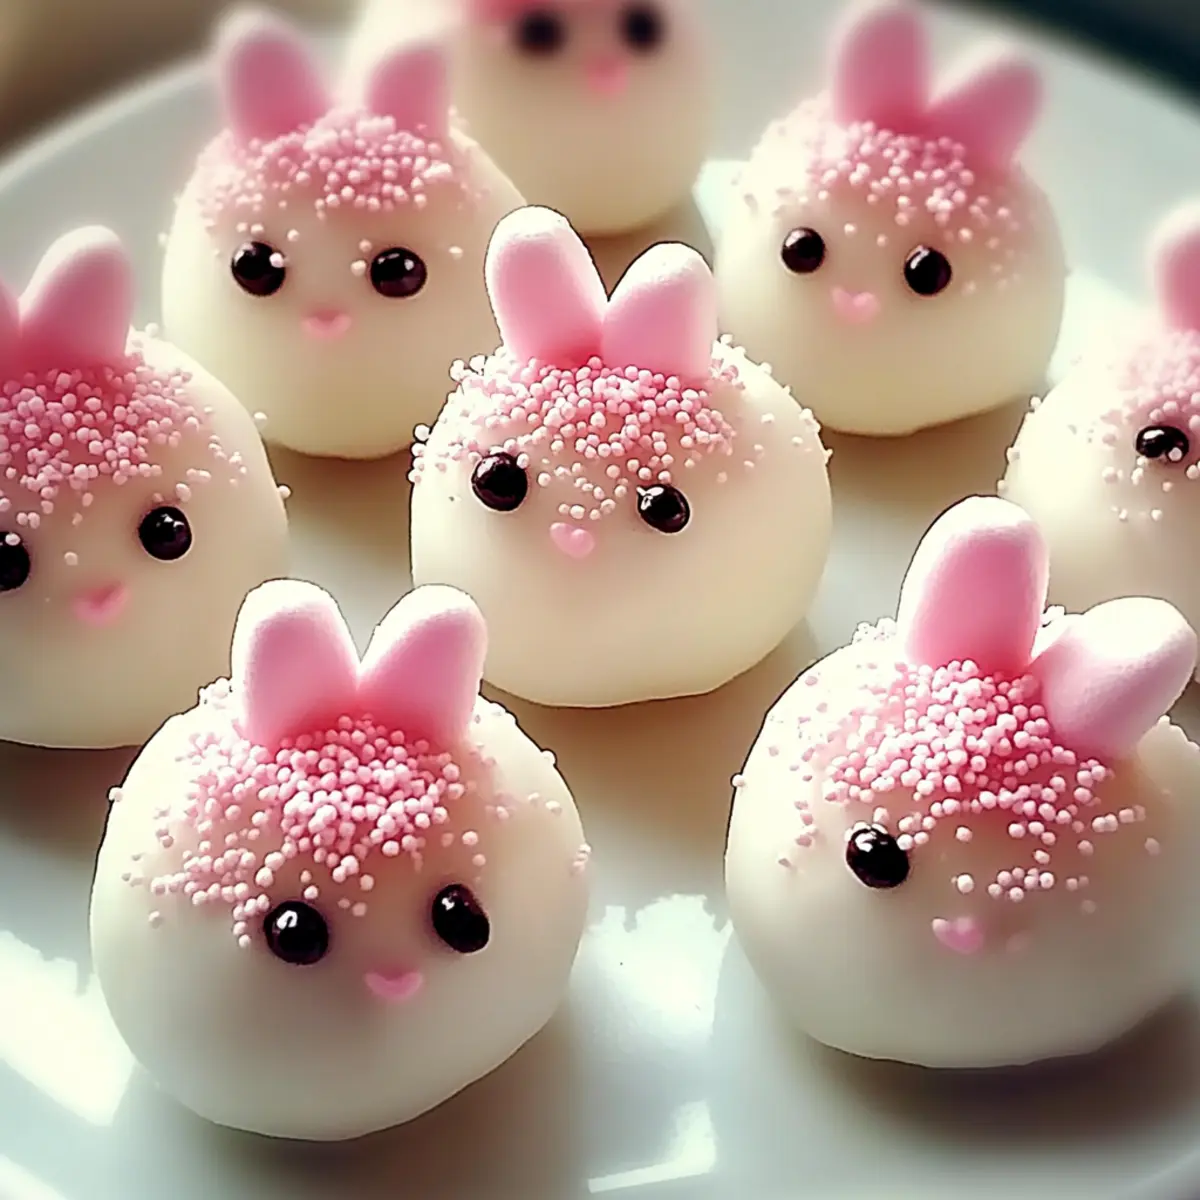
As I stood in my kitchen contemplating what sweet delight to whip up for Easter, I stumbled upon the idea of Bunny Oreo Balls. What could be more enchanting than transforming the classic Oreo into a whimsical treat? This no-bake dessert brilliantly combines the chocolaty crunch of Oreos with creamy goodness, making it an irresistible option for both kids and adults alike. Not only are these Bunny Oreo Balls customizable—you can dress them up with your favorite toppings—but their quick preparation means you won’t be stuck in the kitchen for hours. With just a few simple steps, you’ll have a delightful treat ready to charm your family and friends. Curious about how to create these adorable little bunnies? Let’s hop right into the recipe!
Why Are Bunny Oreo Balls So Irresistible?
No-Bake Delight: These Bunny Oreo Balls are a fun, effortless treat that requires no oven time, ideal for busy schedules.
Customizable Fun: With a variety of toppings, you can personalize each ball to fit any celebration—think festive sprinkles or creative candy decorations!
Kid-Friendly: Kids will love helping to create these adorable treats, making them a great family activity while satisfying everyone’s sweet tooth.
Crowd Pleaser: Perfect for parties, gatherings, or just because, they’re sure to be a hit at any dessert table.
Storage Options: Easily prepare ahead of time and store them for later, making entertaining simple and stress-free! For another fantastic no-bake idea, check out this Vegetarian Casserole Savory that pairs perfectly with any festive meal.
Bunny Oreo Balls Ingredients
• Get ready to create these delightful no-bake sweets!
For the Batter
• Oreos – The star of the recipe, providing a chocolaty base. Substitute with gluten-free chocolate sandwich cookies for dietary restrictions.
• Cream Cheese – Binds the mixture, adding creaminess. Neufchâtel cheese can be used for a lighter version.
For the Coating
• White Chocolate/Candy Melts – Coating chocolate that adds sweetness. Semi-sweet chocolate provides a richer alternative.
For Decorations
• Mini Marshmallows – Create bunny ears for decoration; can be swapped for different candies for creative options.
• Pink Sugar Sprinkles – Optional enhancement for visual appeal and flair on the bunny ears.
Step‑by‑Step Instructions for Bunny Oreo Balls
Step 1: Crush Oreos
Begin by placing the Oreos in a food processor and pulse until they turn into fine crumbs, about 2-3 minutes. Check for a sandy texture, making sure there are no large chunks left. This crumbly base is crucial for your Bunny Oreo Balls, so ensure it’s uniform and ready for mixing.
Step 2: Mix Cream Cheese
In a large mixing bowl, combine the crushed Oreo crumbs with softened cream cheese. Use a spatula or an electric mixer to blend the ingredients until you achieve a smooth, dough-like consistency, which should take 2-3 minutes. The mixture should be easy to shape into balls, providing a delightful creaminess for your treats.
Step 3: Shape Balls
Scoop about one tablespoon of the Oreo-cream cheese mixture and roll it into a ball that’s roughly 1 inch in diameter. Place each ball on a parchment-lined baking sheet, ensuring they aren’t touching. Refrigerate the tray for about 30 minutes to firm up the balls, which helps maintain their shape during the coating process.
Step 4: Melt Chocolate
While the Oreo balls chill, melt the white chocolate or candy melts in a microwave-safe bowl. Heat the chocolate in 20-second intervals, stirring frequently until it becomes smooth and glossy, which should take approximately 1-2 minutes. This warm coating will give your Bunny Oreo Balls a delightful sweetness and a beautiful finish.
Step 5: Coat Balls
Once the Oreo balls are firm, take them out of the refrigerator. Dip each chilled ball into the melted chocolate, using a fork to ensure it is evenly coated. Allow any excess chocolate to drip off before placing them back onto the parchment-lined baking sheet. This layer creates a lovely finish and a sweetness that complements the cookie filling.
Step 6: Add Bunny Ears
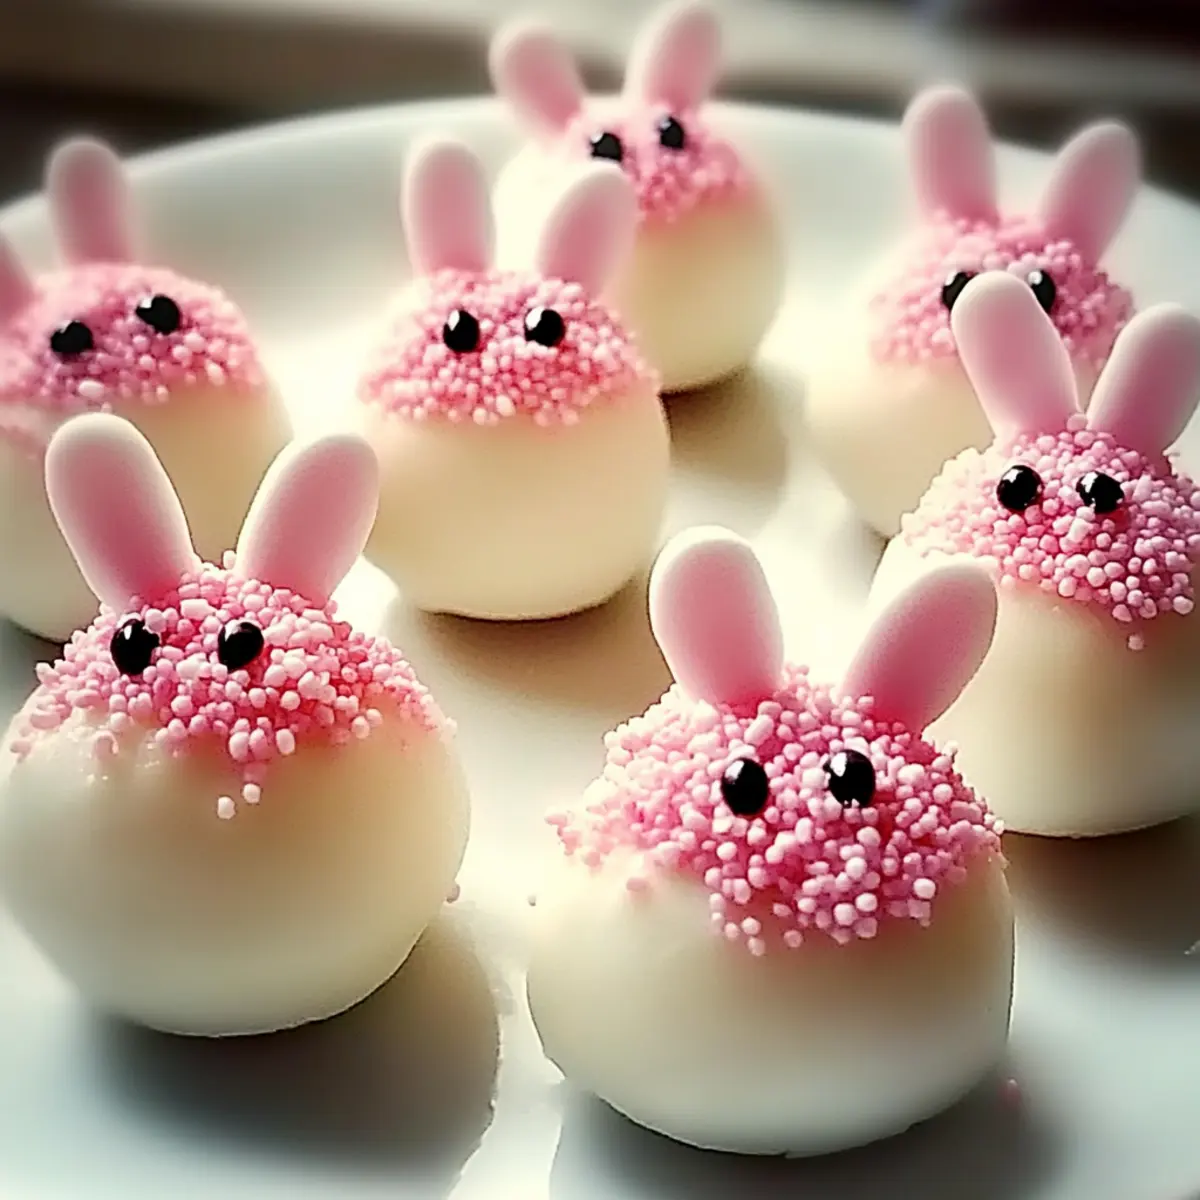
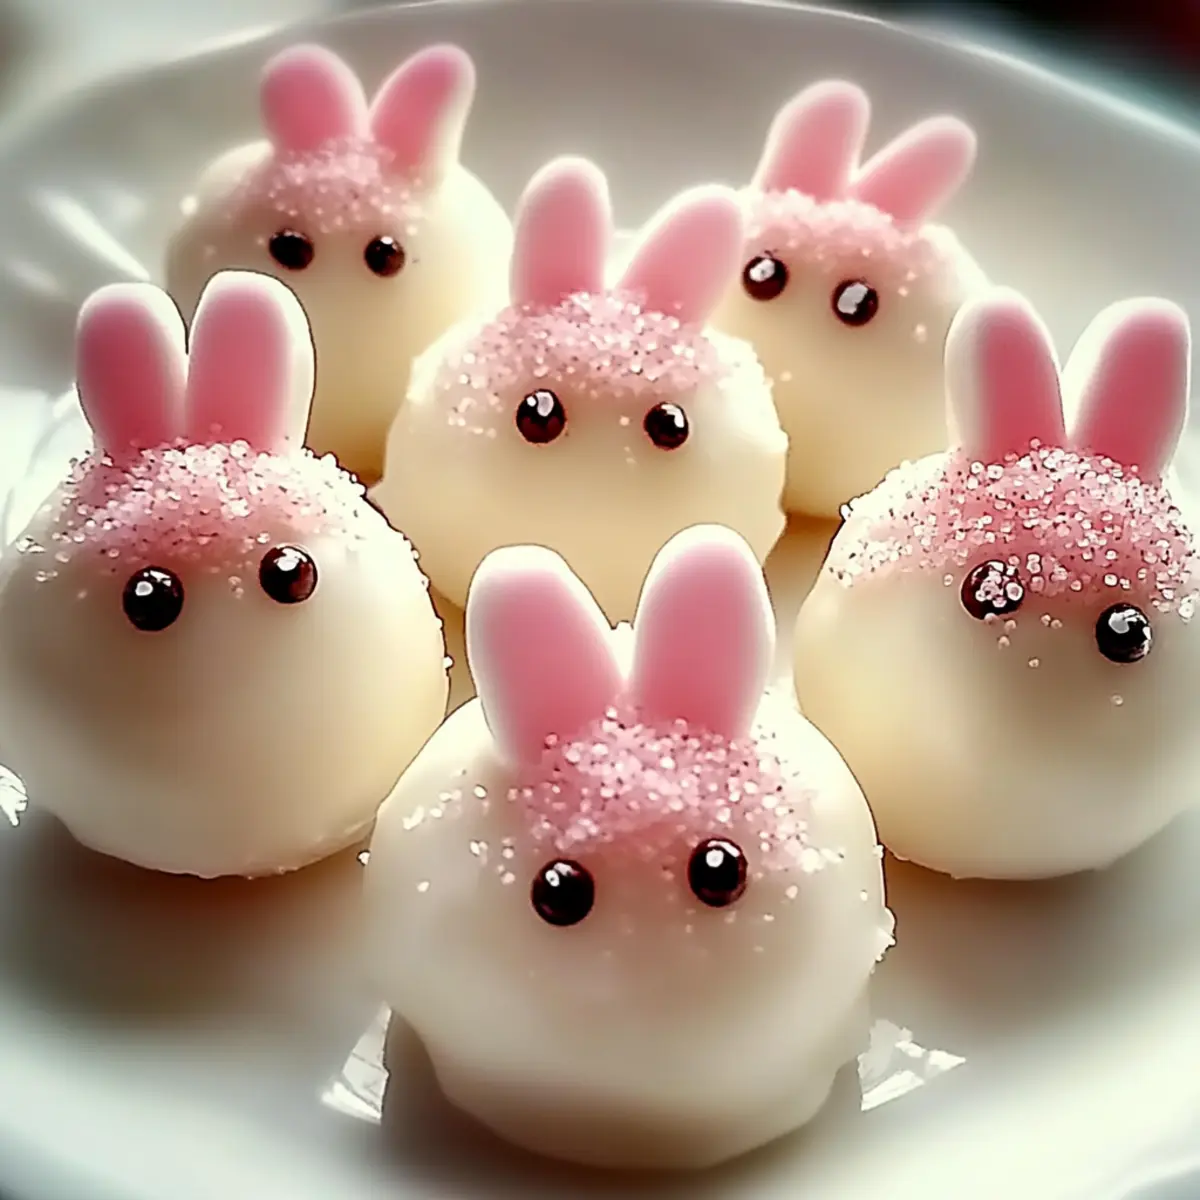
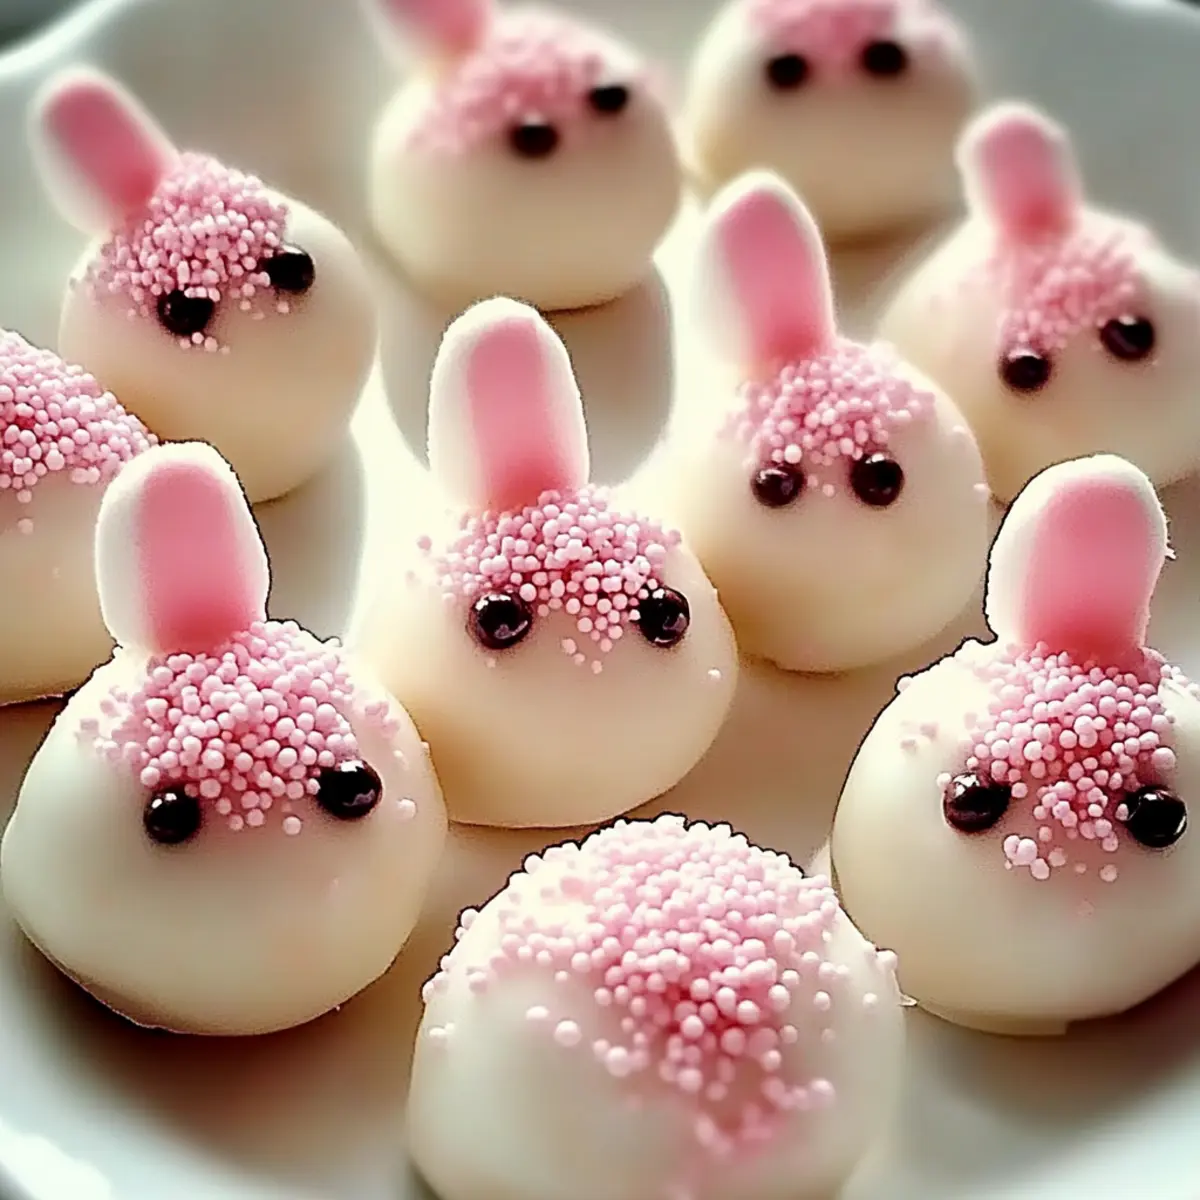
To create the adorable bunny ears, take mini marshmallows and cut each one in half. Dip the cut sides into pink sugar sprinkles for a whimsical touch. Press gently into the top of each chocolate-coated ball, ensuring they stick in place and add a fun decorative element to your Bunny Oreo Balls.
Step 7: Set
Let the decorated Bunny Oreo Balls sit at room temperature for about 10-15 minutes to allow the chocolate coating to harden. As it solidifies, the treats will take on a charming appearance, and the marshmallow ears will stay perfectly in place, making them irresistible treats for any occasion.
Step 8: Store or Serve
Serve the Bunny Oreo Balls immediately, or if you’re preparing ahead, you can store them in an airtight container. They will stay fresh for up to 5 days in the refrigerator or can be frozen for up to a month. Thaw overnight in the fridge before serving for the ultimate sweet treat!
What to Serve with Bunny Oreo Balls
Indulging in whimsical treats like these Bunny Oreo Balls creates the perfect opportunity to craft a delightful dessert spread.
-
Chocolate-Dipped Strawberries: Bright and juicy, these strawberries provide a fruity balance to the rich Oreo flavors, ensuring a colorful dessert platter.
-
Fresh Fruit Salad: A medley of seasonal fruits adds vibrant flavor and refreshing texture, perfectly complementing the sweetness of the Bunny Oreo Balls.
-
Whipped Cream: This light and airy topping enhances any dessert experience, creating a lovely contrast to the creamy, chocolate-covered treats.
-
Mini Cupcakes: Small bites of fluffy cake offer a playful variety, allowing guests to mix and match flavors while celebrating the festive occasion.
-
Milkshakes: Creamy and thick milkshakes can serve as a delightful pairing, turning your gathering into a fun and indulgent dessert experience.
-
Iced Tea or Lemonade: Refreshing beverages like fruity iced tea or homemade lemonade provide a zesty counterpoint, quenching the thirst while elevating the sweetness of the Oreo Balls.
-
S’mores Dip: A gooey, chocolatey dip served with graham crackers encourages interactive dessert enjoyment, causing everyone to dive into the sweetness together with delight.
Expert Tips for Bunny Oreo Balls
Blend Thoroughly: Ensure the Oreo and cream cheese mixture is well-combined to avoid crumbliness; the consistency should be smooth and dough-like.
Chill for Shape: Refrigerating the shaped balls for 30 minutes is crucial; this maintains their shape during the chocolate coating process.
Melt Carefully: When melting chocolate, do it in short intervals to prevent burning. Stir frequently for a velvety smooth finish.
Decorate Smartly: Wait for the chocolate coating to slightly set before adding marshmallow ears; this helps them stick better and keeps them from sinking.
Creative Customization: Feel free to experiment with different toppings or coatings for your Bunny Oreo Balls, making them unique for every occasion!
Bunny Oreo Balls Customization Ideas
These Bunny Oreo Balls are not only delicious but also a canvas for your creativity, inviting you to experiment with fun and tasty twists!
- Gluten-Free: Substitute regular Oreos with gluten-free chocolate sandwich cookies for a delightful yet diet-friendly treat.
- Cream Cheese Remix: Use flavored cream cheese, like strawberry or chocolate, to infuse new flavors into the mixture, delighting your taste buds.
- Chocolate Coating Choices: Swap the white chocolate coating for dark or milk chocolate for a different flavor experience; it adds a rich, indulgent touch.
- Decorative Touches: Get festive with seasonal sprinkles or themed candy decorations—I love using carrot-shaped candies for a fun Easter twist!
- Nutty Flavor: Introduce a nutty twist by mixing in a couple of tablespoons of peanut butter or almond butter into the Oreo mixture for added richness.
- Mini Bunny Decorations: Use small candies like jelly beans or chocolate eggs as alternatives to marshmallows for a playful variation on bunny ears.
- Spicy Kick: For the adventurous, add a pinch of cayenne or chili powder to the chocolate coating—perfect for those who enjoy a little heat in their sweets!
Explore these customizable options to meet your flavor preferences or dietary needs, and for a heartier dish, consider pairing your Bunny Oreo Balls with this delightful Vegetarian Casserole Savory that complements any festive meal perfectly!
Storage Tips for Bunny Oreo Balls
Fridge: Store Bunny Oreo Balls in an airtight container for up to 5 days. This keeps them fresh and ready to delight your family whenever a sweet craving strikes.
Freezer: For longer storage, freeze the Bunny Oreo Balls in a single layer before transferring them to a freezer-safe container. They can be stored for up to 1 month.
Thawing: To enjoy frozen Bunny Oreo Balls, simply transfer them to the fridge and let them thaw overnight before serving. They’ll taste just as delicious as when you made them!
Serving Suggestions: Before serving, consider adding a fresh touch by rolling them in additional sprinkles or garnishing with fruit to elevate their charm.
Make Ahead Options
These Bunny Oreo Balls are fantastic for meal prep, allowing you to save time and enjoy the sweet rewards even during your busiest days! You can prepare the Oreo and cream cheese mixture up to 24 hours in advance. Simply scoop and shape the balls, then place them on a baking sheet to chill in the refrigerator. When you’re ready to finish the recipe, melt the chocolate and coat the chilled balls, adding bunny ears right after for the best results. Storing them in an airtight container in the fridge will keep them fresh for up to 5 days, ensuring they remain just as delicious when it’s time to savor your sweet creations!
Bunny Oreo Balls Recipe FAQs
What type of Oreos should I use for Bunny Oreo Balls?
You can use regular Oreos, but if you’re looking for a gluten-free option, substitute them with gluten-free chocolate sandwich cookies. Just ensure they’re finely crushed to maintain the recipe’s integrity.
How long can I store Bunny Oreo Balls?
Bunny Oreo Balls are best enjoyed fresh, but you can store them in an airtight container for up to 5 days in the refrigerator. Keeping them sealed helps preserve their delightful creaminess and prevents them from drying out.
Can Bunny Oreo Balls be frozen?
Absolutely! To freeze Bunny Oreo Balls, place them in a single layer on a baking sheet and freeze until firm. Then transfer them to a freezer-safe container, where they can last for up to 1 month. For the best taste, thaw them overnight in the fridge before serving.
What can I do if my Bunny Oreo Balls are falling apart?
If your mixture is too crumbly to hold together, try adding more softened cream cheese—start with an additional tablespoon and mix thoroughly until you reach the right consistency. Additionally, ensure you’re chilling the balls adequately before coating them to help them maintain their shape.
Are Bunny Oreo Balls safe for kids?
Yes! Bunny Oreo Balls are kid-friendly treats, but be sure to check for any allergies. They do contain cream cheese, which some might be sensitive to. Also, mini marshmallows may pose a choking hazard for very young children, so supervise them while they enjoy these delightful bites.
Can I customize the toppings for Bunny Oreo Balls?
The more the merrier! Feel free to swap out the mini marshmallows for other candies like jelly beans or gummy bunnies. You can also use different colored sprinkles or edible glitter to match a theme—let your imagination run wild and make each batch unique!
Bunny Oreo Balls: Easy No-Bake Treats for Any Celebration
Ingredients
Equipment
Method
- Begin by placing the Oreos in a food processor and pulse until they become fine crumbs, about 2-3 minutes.
- In a large mixing bowl, combine the crushed Oreo crumbs with softened cream cheese and blend until smooth.
- Scoop about one tablespoon of the mixture and roll it into a 1-inch ball. Place on a parchment-lined baking sheet.
- Refrigerate the tray for about 30 minutes to firm up the balls.
- Melt the white chocolate or candy melts in a microwave-safe bowl in 20-second intervals until smooth.
- Dip each chilled ball into the melted chocolate, ensuring even coating, and place back on the baking sheet.
- Cut mini marshmallows in half, dip in pink sugar sprinkles, and attach to the top of each coated ball.
- Let the decorated balls sit at room temperature for 10-15 minutes to allow the coating to harden.
- Serve immediately or store in an airtight container for up to 5 days.
Leave a Reply