
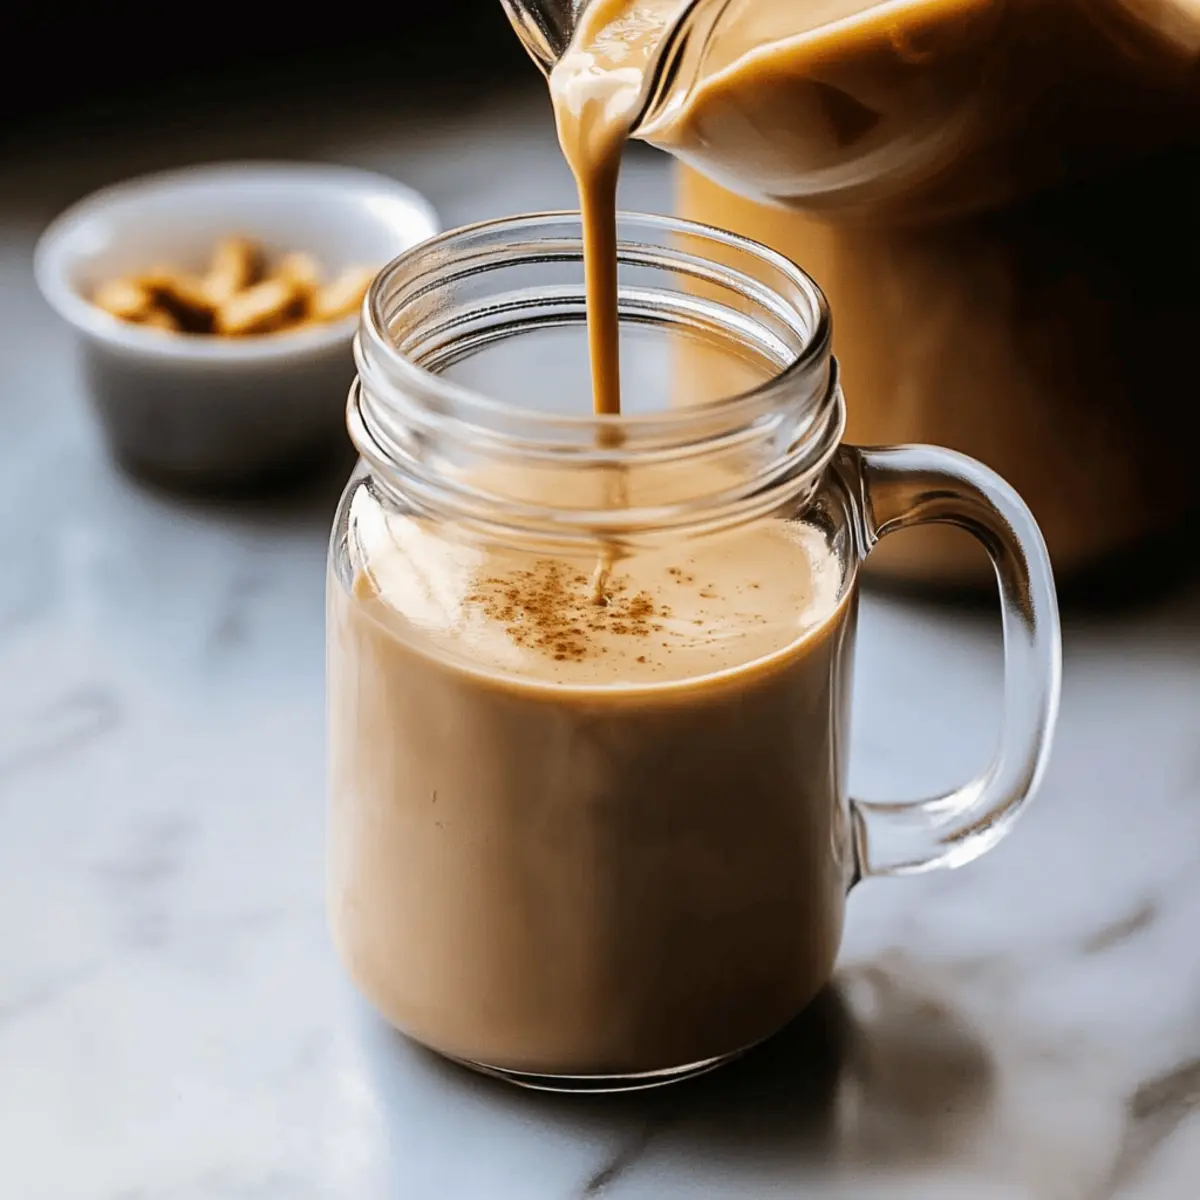
As I stirred my morning coffee, a delightful aroma wafted through the kitchen, instantly transporting me to a sun-drenched café in a bustling market. This Homemade Baklava Coffee Creamer is not just a simple addition to my cup; it’s a little journey into the heart of comfort and nostalgia. With its creamy base and lightly sweetened notes of honey and cinnamon, this quick-prep recipe revitalizes your morning routine like a warm hug in a mug. In just 10 minutes, you can create a luscious creamer that transforms an ordinary cup of coffee into a cozy experience, perfect for both casual sips and special gatherings. Curious about how easy it is to whip up this soul-soothing treat? Let’s dive in!
Why Choose Baklava Coffee Creamer?
Indulgent Flavor: This creamer marries the flavors of rich baklava with your coffee, elevating every sip with sweet honey and warm cinnamon notes.
Quick Preparation: Ready in just 10 minutes, this recipe fits perfectly into even the busiest mornings, allowing you to enjoy a taste of luxury without fuss.
Crowd-Pleasing: Whether you’re hosting brunch or enjoying a quiet morning, this delightful addition is sure to impress guests and family alike.
Versatile Options: Feel free to swap in different nuts or sweeteners, crafting a custom creamer to suit your tastes—try using maple syrup for a unique twist!
Homemade Goodness: Embracing this simple recipe means you can skip store-bought creamers filled with preservatives; only pure, wholesome ingredients for your coffee!
Take your coffee experience further by exploring more delightful creations like Coffee Slice Bake or the creamy goodness of Coffee Panna Cotta. Your morning routine deserves the best!
Baklava Coffee Creamer Ingredients
For the Creamer
• Half-and-Half – This creamy base creates a luscious texture; you can substitute with whole milk for a lighter version, but it may result in a thinner consistency.
• Whole Milk – Adds an extra hint of richness to the creamer; consider using more half-and-half for an even creamier finish.
• Honey – The primary source of sweetness that evokes baklava flavors; using a mild honey like clover works best, and you can always adjust its amount to your liking.
• Toasted Walnuts – Infuses the creamer with delightful nutty notes; feel free to swap these for pecans or almonds, just be sure they’re finely chopped for easy incorporation.
• Ground Cinnamon – Provides warmth and spice that elevates the flavor; you can easily increase this for a bolder cinnamon profile.
• Vanilla Extract – Enhances both the sweetness and aroma of your creamer; using pure vanilla ensures the best possible flavor experience.
• Salt – A pinch balances out the sweetness nicely, elevating the overall flavor of the Baklava Coffee Creamer.
Feel free to enjoy your homemade creation in a warm cup when you’re in need of a comforting treat!
Step‑by‑Step Instructions for Baklava Coffee Creamer
Step 1: Toast the Walnuts
Begin by heating a dry skillet over medium heat. Add 1/4 cup of finely chopped walnuts and toast them for about 2–3 minutes, stirring frequently, until they turn golden and fragrant. This step is crucial for bringing out their rich, nutty flavor. Remove from heat and let the walnuts cool slightly while you prepare the next steps.
Step 2: Warm the Dairy
In a small saucepan, combine 1 cup of half-and-half with 1 cup of whole milk. Heat gently over medium-low heat for about 3–5 minutes, stirring occasionally until the mixture is steamy but not boiling. You’ll know it’s ready when tiny bubbles appear around the edge. This creamy base is the heart of your Baklava Coffee Creamer.
Step 3: Mix in Flavorings
Once the milk mixture is steaming, add in the toasted walnuts, 1/4 cup of honey, 1 teaspoon of ground cinnamon, 1 teaspoon of vanilla extract, and a pinch of salt. Stir well to combine all the flavors, then let it simmer on low heat for about 2 minutes. The aroma will begin to waft through your kitchen, inviting you to the next step.
Step 4: Blend for Smoothness
Allow the mixture to cool slightly, then transfer it to a blender or use an immersion blender directly in the saucepan. Blend until smooth and creamy, which typically takes about 30 seconds. This step ensures that the Baklava Coffee Creamer has a delightful, silky texture, blending the flavors beautifully.
Step 5: Strain and Store
Pour the blended mixture through a fine mesh strainer into a clean glass jar or bottle, discarding any solids left behind. This will give your creamer a smooth finish, making it perfect for your coffee. Allow the creamer to cool completely before sealing the jar and refrigerating it. Your homemade Baklava Coffee Creamer can be stored for up to 7 days!

How to Store and Freeze Baklava Coffee Creamer
Fridge: Store the creamer in a sealed glass jar in the refrigerator for up to 7 days. Be sure to shake well before each use, as natural separation may occur.
Freezer: Do not freeze the creamer, as freezing can cause the dairy components to separate and compromise the smooth texture and flavor of the Baklava Coffee Creamer.
Airtight Container: Always use an airtight container to maintain freshness and avoid any absorption of odors from other foods in the fridge.
Reheating: If you prefer your creamer warm, gently heat it on the stove or in the microwave, stirring until well-mixed; avoid boiling to preserve the flavor.
Baklava Coffee Creamer Variations & Substitutions
Customize your Baklava Coffee Creamer to suit your taste or dietary needs with these delightful options!
- Nut Alternative: Swap toasted walnuts for pecans or hazelnuts for a different flavor profile. Each nut brings its unique twist to the creamer!
- Dairy-Free: Use almond milk or coconut milk instead of half-and-half and whole milk. You’ll enjoy a rich, creamy texture without the dairy.
- Sweetener Swap: Change honey to maple syrup for a distinctively sweet taste and a hint of caramel flavor that complements the spices beautifully.
- Cinnamon Kick: For an extra punch, increase the cinnamon by a half teaspoon, or even add a touch of cardamom for a unique spiced profile. This will elevate your morning brew to new heights!
- Extra Creaminess: Substitute half of your milk with heavy cream for an ultra-rich and decadent coffee creamer. A luxurious treat for special mornings!
- Cocoa Twist: Add a tablespoon of unsweetened cocoa powder to transform your creamer into a mocha delight. The chocolate pairs perfectly with the baklava flavors!
- Spicy Heat: Incorporate a pinch of cayenne pepper to bring some warmth to your coffee. This subtle kick will surprise your taste buds in a delightful way!
To keep the coffee creativity going, why not try it in a Coffee Panna Cotta for dessert? You’ll love how uniquely delicious your homemade baklava-inspired treats can be!
Make Ahead Options
Preparing your Baklava Coffee Creamer ahead of time is a fantastic way to save precious minutes during busy mornings! You can make the entire creamer up to 3 days in advance. Simply follow the recipe instructions through to the straining step, then store the finished product in a sealed jar in the refrigerator. To maintain the creamer’s delicious creamy texture, always give it a good shake before serving, as some natural separation may occur overnight. When you’re ready to sip, just pour it into your coffee, and you’ll have a delightful homemade treat that’s just as flavorful as when it was freshly made!
Expert Tips for Baklava Coffee Creamer
• Toast Nuts Perfectly: Ensure walnuts are golden: Over-toasting can lead to a bitter flavor; watch closely for that perfect golden hue while toasting.
• Blend Smoothly: Don’t skip blending: A smooth texture is essential for this Baklava Coffee Creamer; skipping this step could leave a gritty consistency.
• Balance Sweetness: Adjust honey to taste: Everyone has different sweetness preferences, so taste your creamer before storing and modify the honey as needed.
• Storage Secrets: Keep it fresh: Store in a sealed jar in the fridge and remember to shake well before use, as natural separation occurs.
• Ditch the Freezer: Avoid freezing: Freezing dairy can lead to separation; enjoy your creamer fresh for the best flavor and texture.
What to Serve with Baklava Coffee Creamer?
Transform your morning coffee into an extraordinary experience with delightful pairings that are sure to elevate your sipping pleasure.
- Fluffy Croissants: Their buttery, flaky layers offer a sumptuous contrast to the sweet, nutty flavors of the creamer. Perfect for a special brunch!
- Spiced Muffins: Warm, spiced muffins complement the cinnamon notes in the creamer, creating a cozy and inviting breakfast table.
- Rich Chocolate Cake: Decadent and indulgent, a slice of chocolate cake alongside your coffee brings a touch of dessert perfection to your day.
- Assorted Nuts: Serve a bowl of assorted nuts for a crunchy snack that mirrors the creaminess of the baklava flavors; it’s a satisfying contrast with each sip.
- Fruit Skewers: Fresh, juicy fruits like strawberries and oranges balance the richness of the creamer, enhancing each coffee experience with bright, refreshing notes.
- Honey Drizzled Toast: It’s a simple yet delightful addition; the sweetness of honey on warm toast mirrors the honey in the creamer for a harmonious pairing.
- Herbal Tea: For a milder option, a warm cup of herbal tea refreshes the palate, allowing the unique flavors of your coffee creamer to shine.
- Churros with Chocolate Sauce: These crispy, sugary treats add a fun and festive touch that perfectly complements the creamy sweetness of the baklava creamer.
- Iced Coffee: Serve the creamer in an iced coffee for a refreshing twist, transforming your morning brew into an indulgent iced treat.
Baklava Coffee Creamer Recipe FAQs
How do I choose the right walnuts for this recipe?
Absolutely! When selecting walnuts, look for ones that are fresh and free from dark spots or rancid smells. The best walnuts are typically light in color with a silky texture. If you toast them, this will enhance their flavor, bringing out a delicious nuttiness that elevates your Baklava Coffee Creamer.
How should I store my Baklava Coffee Creamer?
Very simply! Store your homemade Baklava Coffee Creamer in a sealed glass jar in the refrigerator for up to 7 days. Just remember to give it a good shake before each use, as some natural separation will occur due to the mixture of ingredients.
Can I freeze Baklava Coffee Creamer?
Unfortunately, no! I would advise against freezing your Baklava Coffee Creamer because freezing dairy can lead to separation, causing the texture and flavor to suffer. It’s best enjoyed fresh within the recommended 7 days.
What should I do if my creamer is gritty?
If your Baklava Coffee Creamer turns out gritty, it’s likely due to not blending the mixture long enough. To prevent this, make sure to blend until completely smooth, for about 30 seconds, ensuring that the nuts are well incorporated. If separation occurs, simply give it a vigorous shake before pouring!
Can I make this recipe dairy-free?
Absolutely! If you’re looking to make a dairy-free version of the Baklava Coffee Creamer, try using coconut milk or almond milk instead of half-and-half and whole milk. Just keep in mind that the texture and flavor might change slightly, so adjust the other ingredients as needed to maintain that sweet and nutty profile.
What if I have a nut allergy?
If you have a nut allergy, you can simply omit the toasted walnuts from the recipe. To maintain the creamy texture and rich flavor, you can substitute with a bit of instant coffee granules to create that nutty essence and enhance the coffee flavor without using nuts. Always check for allergens in any alternative ingredients!
Baklava Coffee Creamer: A Sweet Twist to Your Morning Brew
Ingredients
Equipment
Method
- Toast the walnuts in a dry skillet over medium heat for 2-3 minutes until golden and fragrant. Remove from heat.
- Warm 1 cup of half-and-half and 1 cup of whole milk in a saucepan over medium-low heat for 3-5 minutes until steamy.
- Mix in the toasted walnuts, honey, cinnamon, vanilla extract, and salt. Simmer on low heat for 2 minutes.
- Blend the mixture until smooth and creamy for about 30 seconds.
- Strain the blended mixture into a clean glass jar, cool completely, then seal and refrigerate.
Leave a Reply