
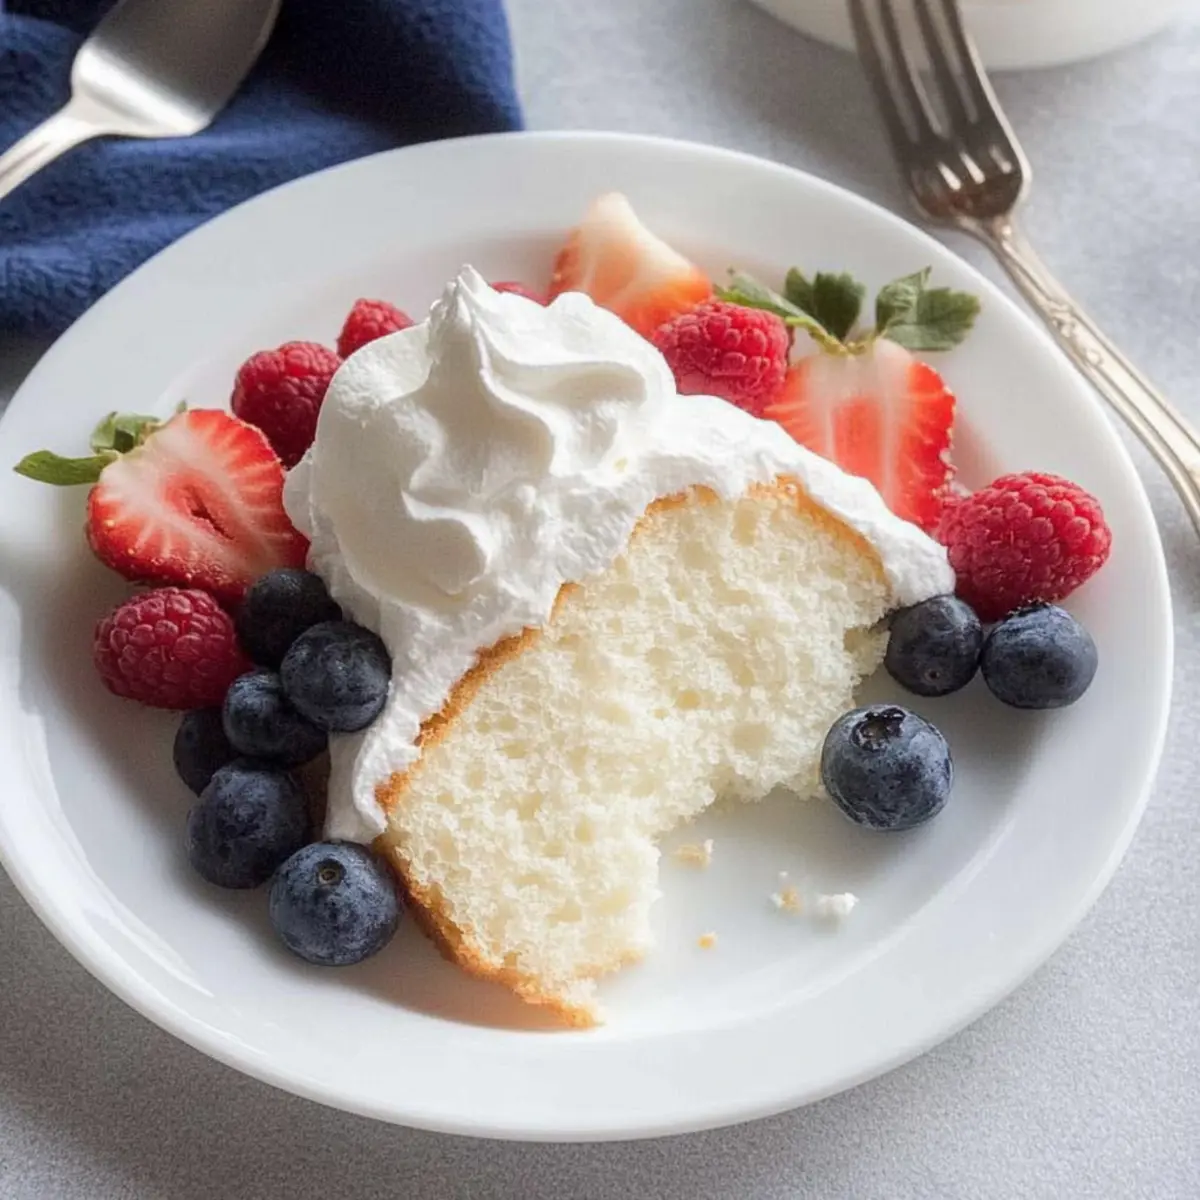
As I stood in my kitchen, the scent of sweetness wafted through the air, igniting memories of sunny afternoons spent with family. That’s when I knew it was time to whip up my beloved Angel Food Cake, a delightful treat that never fails to impress. This light and fluffy dessert offers a low-fat indulgence, making it perfect for gatherings or a simple weeknight treat. With just a handful of ingredients, the magic of the Angel Food Cake unfolds as the egg whites transform into a cloud-like confection. Topped with fresh berries and a dollop of whipped cream, it’s not only a feast for the eyes but also a guilt-free dessert option you’d love to share. Ready to learn how to create this airy masterpiece? Let’s dive in!
Why is Angel Food Cake So Irresistible?
Lightness, this cake is like a fluffy dream, melting in your mouth while delivering pure delight. Healthy indulgence, at about 115 calories per serving, it’s a guilt-free treat perfect for any occasion. Versatile topping options like fresh berries or whipped cream let you customize your dessert. Easy preparation makes it accessible, so even novice bakers can impress their guests! And if you’re a fan of seasonal flavors, try pairing it with peaches or mangoes for a delicious twist. Ready to whip up this airy delight and leave everyone craving more?
Angel Food Cake Ingredients
• Make this delightful dessert today!
For the Batter
- Egg Whites – Provides structure and volume; use them at room temperature for better whipping.
- Sugar (1.5 cups) – Sweetens and stabilizes the egg whites; try using baker’s sugar for a finer texture.
- Cake Flour (1 cup) – Gives a light, fine texture; substitute with all-purpose flour if needed.
- Cream of Tartar (1.25 tsp) – Stabilizes whipped egg whites; can be substituted with lemon juice, though cream of tartar is best.
- Vanilla Extract (1 tsp) – Enhances flavor; almond extract can be adjusted for a more pronounced taste.
- Almond Extract (0.25 tsp) – Adds a subtle nutty flavor; use less or omit if preferred.
- Salt (0.25 tsp) – Balances sweetness; essential for flavor, do not omit.
Optional Toppings
- Whipped Cream – A classic topping that complements the cake perfectly.
- Fresh Berries – Add a colorful and flavorful touch; try mixing in some lime zest for a refreshing twist.
Step‑by‑Step Instructions for Angel Food Cake
Step 1: Prep Egg Whites
Begin by placing your egg whites in a large bowl at room temperature for about 30 minutes. This step is vital as it allows the egg whites to whip up beautifully, creating that signature airy texture in your Angel Food Cake. While waiting, gather your other ingredients and equipment to keep everything organized.
Step 2: Sift Dry Ingredients
Sift together 0.5 cups of sugar and the cake flour twice, ensuring a light combination devoid of lumps. This process aerates the flour, contributing to the cake’s fluffy consistency. Set this mixture aside in a bowl, ready to be incorporated later for a delicate Angel Food Cake texture.
Step 3: Preheat Oven
Position the oven rack at the lowest level and preheat your oven to 350°F (175°C). This temperature is key for achieving that lightly browned top and perfect rise. Ensuring your oven is preheated allows the cake to bake evenly, capturing the lightness we cherish in an Angel Food Cake.
Step 4: Mix Ingredients
In your bowl with the egg whites, add the cream of tartar, vanilla extract, almond extract, and salt. Using a hand mixer, beat on medium speed until soft peaks form, which should take about 3-5 minutes. Gradually add the remaining sugar, two tablespoons at a time, while continuing to beat on high until you reach stiff peaks, approximately 2-4 minutes more.
Step 5: Combine Mixtures
With a gentle folding technique, gradually incorporate the sifted flour mixture into the whipped egg whites, adding about 0.5 cups at a time. This process requires care—use a large spatula to fold, ensuring you maintain that fluffy structure while evenly distributing the flour. Your Angel Food Cake batter should look light and airy when fully combined.
Step 6: Prepare for Baking
Spoon the batter into an ungreased 10-inch tube pan. Be sure to distribute it evenly and cut through the batter with a knife to eliminate any air pockets. This technique is crucial for helping the cake rise beautifully without collapsing, ensuring your Angel Food Cake maintains its height and fluffiness as it bakes.
Step 7: Bake
Place the pan in the preheated oven and bake for 35-40 minutes. You’ll know it’s ready when the top is lightly browned and springs back when touched. Keep an eye on your cake as it bakes, savoring the delightful aroma that fills your kitchen—a true sign of a wonderful Angel Food Cake in the making.
Step 8: Cool
As soon as the baking time is up, immediately invert the pan and allow the cake to cool completely for about 1 hour. Inverting the pan helps maintain the height of your cake, preventing it from collapsing into a dense texture. Letting it cool upside down is essential for that perfect, airy final result.
Step 9: Serve
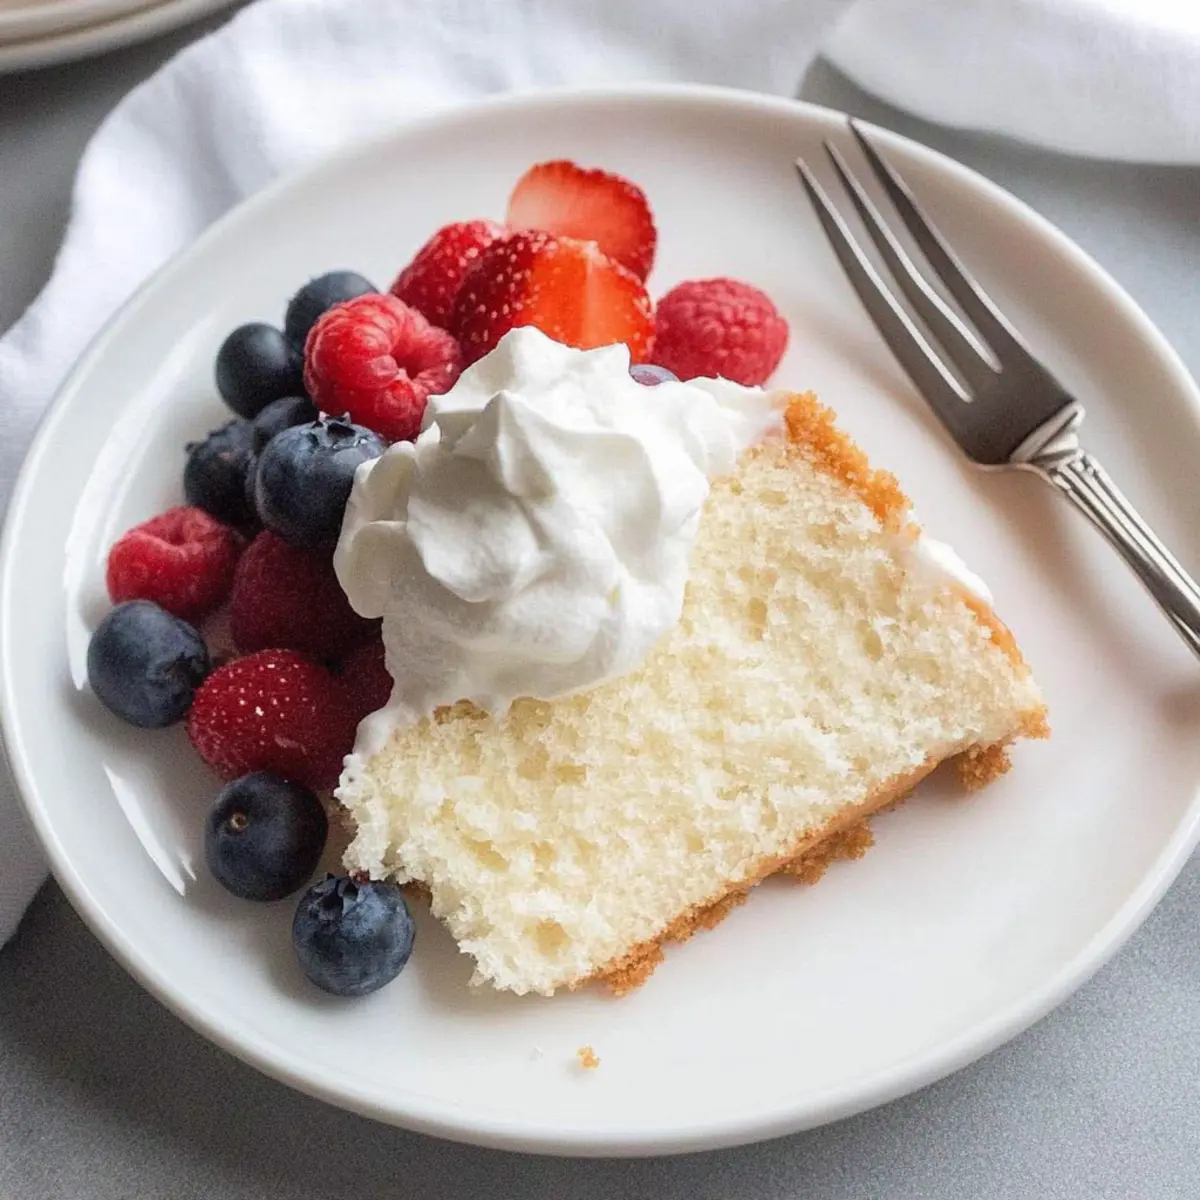
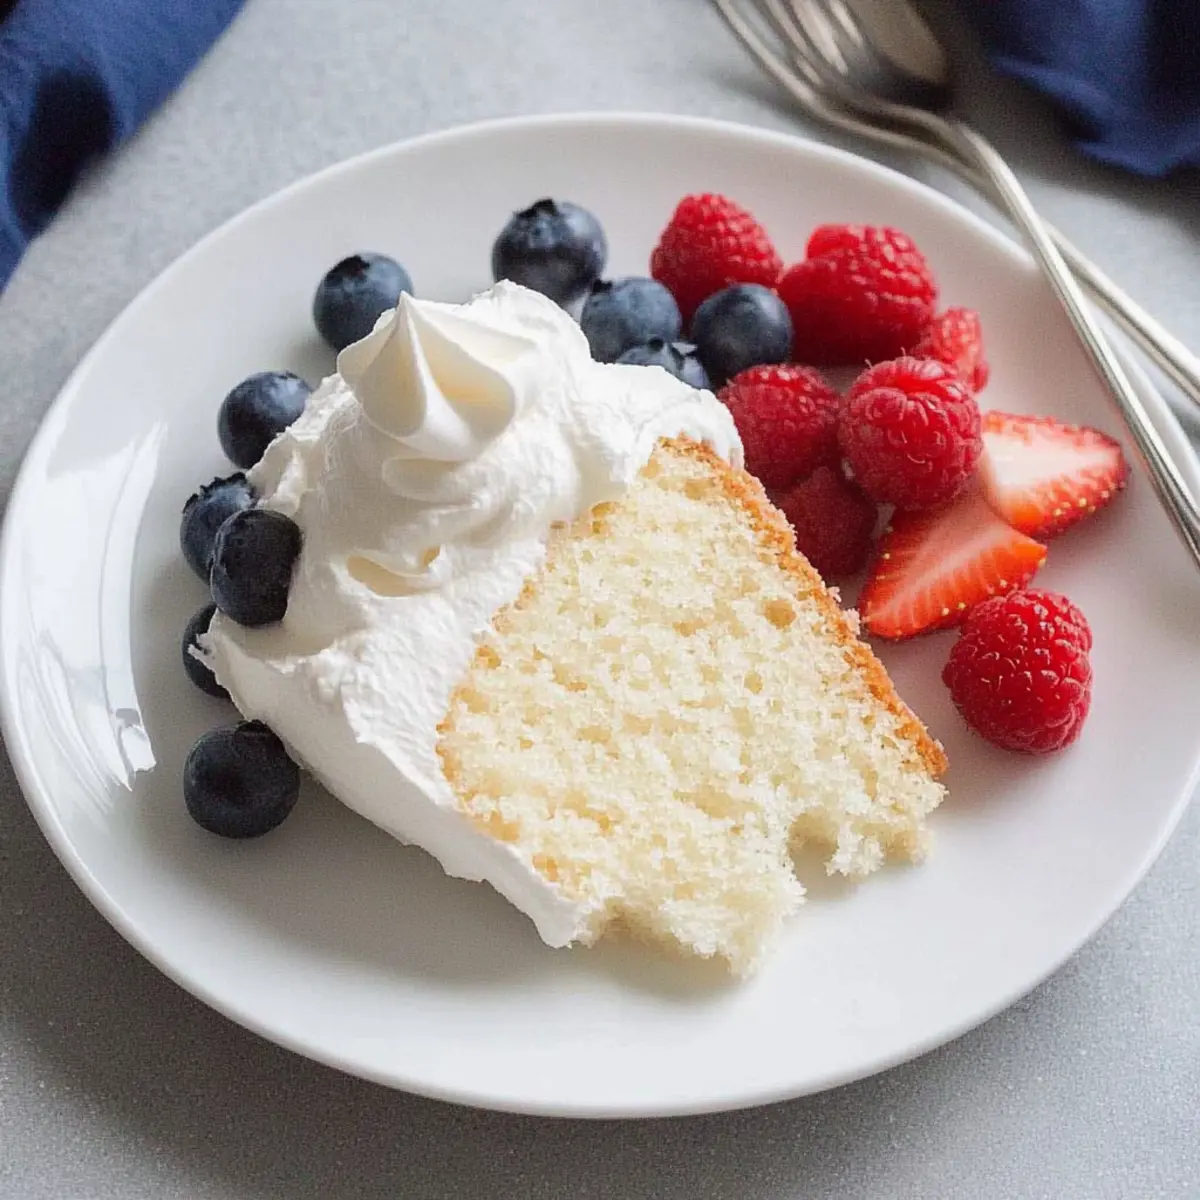
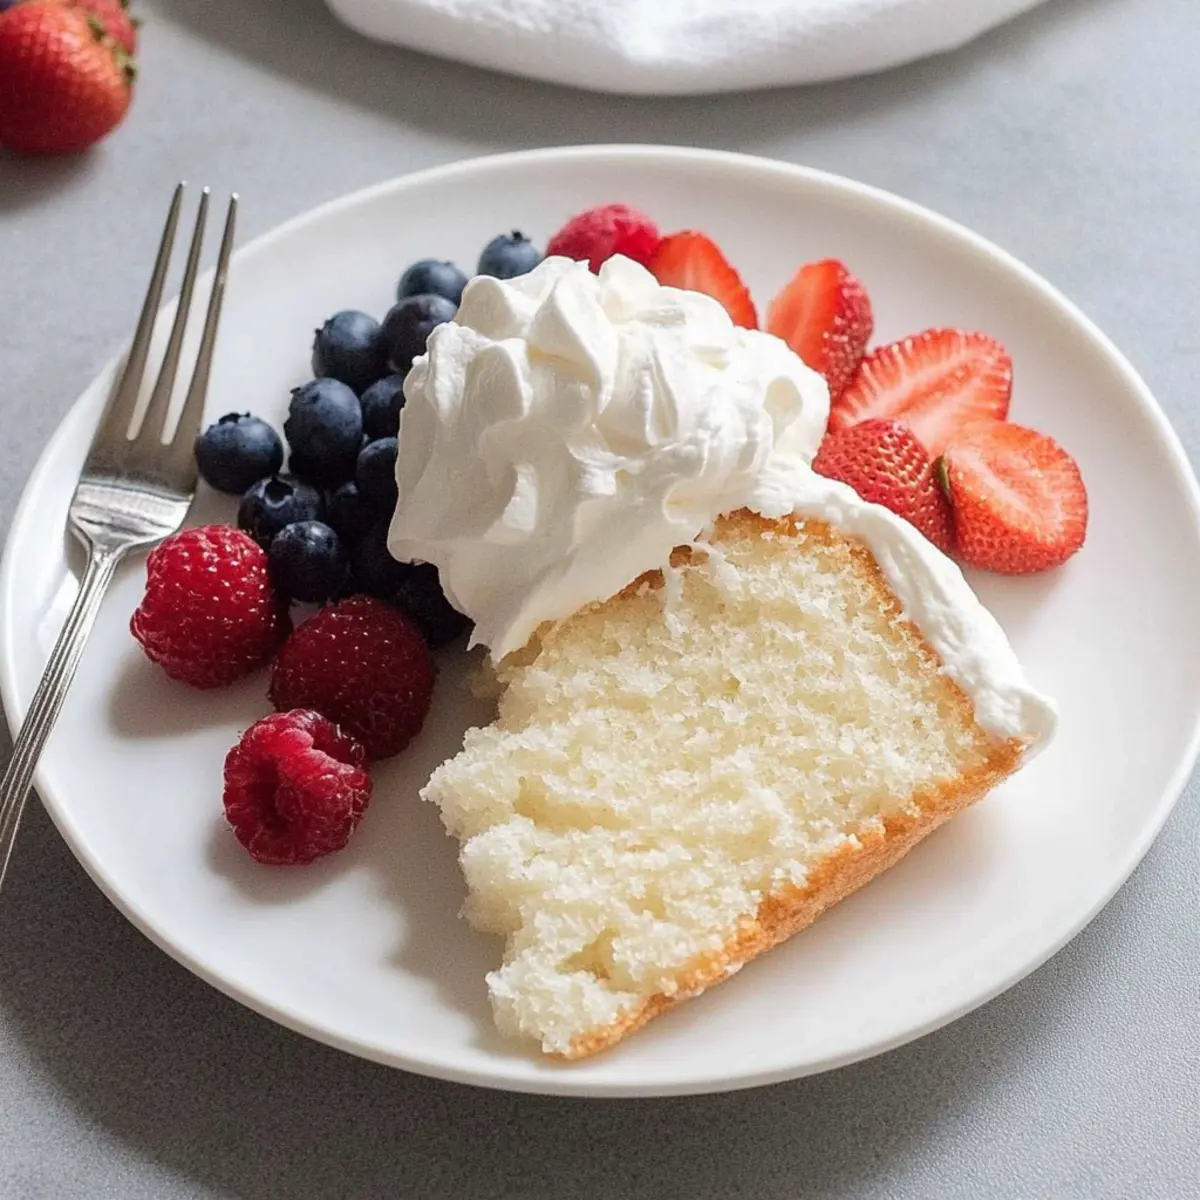
Once cooled, run a knife along the edges and the center tube of the pan to loosen the cake gently. Carefully remove the cake from the pan, taking care not to damage its delicate structure. Serve your beautiful Angel Food Cake topped with whipped cream and fresh berries for a stunning and delicious presentation that’s sure to impress!
How to Store and Freeze Angel Food Cake
Room Temperature: Store leftover angel food cake in an airtight container at room temperature for up to 2 days to maintain its light texture and flavor.
Fridge: If you prefer a chilled dessert, you can keep the cake in the refrigerator for 2-3 days. Make sure it’s tightly covered to prevent it from drying out.
Freezer: For longer storage, wrap the angel food cake tightly in plastic wrap, then place it in a freezer-safe bag. It can be frozen for up to 4 months without sacrificing flavor or texture.
Reheating: To enjoy the cake after freezing, simply thaw it in the refrigerator overnight. Serve with fresh toppings for a delightful treat!
Angel Food Cake Variations & Substitutions
Feel free to tweak this angel food cake recipe into something uniquely yours, with delightful twists that tantalize the senses!
-
Gluten-Free: Use gluten-free cake flour instead of regular for a light, gluten-free version that everyone can enjoy.
-
Berry Bliss: Swap fresh berries for seasonal fruits like peaches or mangoes. Their sweetness will add a lovely contrast to the cake’s light texture.
-
Citrus Zest: Add lemon or orange zest to the batter for a refreshing citrus kick, brightening the flavor profile beautifully.
-
Chocolate Lovers: Fold in cocoa powder into the flour mixture for a chocolatey twist that still feels light. It’s a touch of decadence without the heaviness!
-
Dairy-Free: Substitute the whipped cream topping with coconut whipped cream. It adds a delightful tropical flavor while keeping the dessert light.
-
Spiced Up: Incorporate a pinch of cinnamon or nutmeg to the batter to infuse a warm spice note. This adds complexity to the cake without overpowering it.
-
Fruity Whipped Cream: Mix pureed strawberries or raspberries into your whipped cream topping for a fruity, colorful delight that enhances both flavor and aesthetics.
-
Almond Swap: Replace almond extract with other extracts like coconut or even peppermint for adventurous flavor fusions. Each variation creates a fresh experience.
With these creative options, you can make the angel food cake your own, just like the lovely variations found in Toffee Pudding Cake or a delicious Lemon Cream Cake. Enjoy the process of crafting your perfect version of this light and fluffy delight!
Expert Tips for the Best Angel Food Cake
-
Room Temperature Eggs: Ensure egg whites are at room temperature before whipping. Colder egg whites won’t achieve the necessary volume and can lead to a dense cake.
-
Folding Technique: Use a gentle folding method when combining the flour mixture with the egg whites. This preserves the airiness crucial for an impressive angel food cake.
-
Avoid Greasing the Pan: Don’t grease the tube pan! The cake needs to cling to the sides to rise properly. A nonstick pan can actually hinder this process.
-
Baking Time Watch: Keep an eye on your cake as it bakes. An underbaked cake may collapse, while overbaking can dry it out. Look for a lightly browned top and a spring-back finish.
-
Cool Upside Down: Invert your cake pan as soon as it comes out of the oven. This cooling method keeps the cake from collapsing, maintaining that perfect height and texture essential to an angel food cake.
What to Serve with Light and Fluffy Angel Food Cake
Elevate your dessert experience by pairing this airy confection with delightful accompaniments that enhance its sweetness and texture.
-
Fresh Berries: Juicy strawberries, blueberries, or raspberries add a burst of tartness that contrasts beautifully with the cake’s sweetness. Their vibrant colors make the presentation inviting and fresh.
-
Homemade Whipped Cream: Lightly sweetened whipped cream provides a creamy, luscious element, adding richness while maintaining the cake’s airy feel. It’s truly the perfect topping to create a heavenly bite.
-
Lemon Curd: The tangy, zesty flavor of lemon curd cuts through the cake’s sweetness, offering a bright and refreshing contrast that will awaken your taste buds.
-
Chocolate Sauce: A drizzle of silky chocolate sauce adds decadence and a rich depth that complements the lightness of the cake. Perfect for those with a sweet tooth!
-
Peach Compote: Warm, spiced peaches can transform your angel food cake into a cozy dessert perfect for summer nights. The warmth and flavor provide a comforting twist.
-
Mint Sprigs: A scattering of fresh mint leaves atop your cake adds a refreshing note and a beautiful touch of green, making every bite feel like a garden celebration.
-
Sparkling Wine: A glass of sparkling rosé or prosecco pairs beautifully with this dessert, enhancing the light, celebratory feel of the moment.
-
Matcha Green Tea: The earthy flavor of matcha offers a unique contrast, providing a mild sweetness and a pretty green hue, refreshing your palate with every bite.
-
Fruit Salad: A mix of seasonal fruits adds a variety of textures and flavors, making for a vibrant side that cheers up any gathering.
-
Vanilla Ice Cream: A scoop of creamy vanilla ice cream creates a delightful temperature contrast that turns your angel food cake into an even dreamier dessert experience.
Make Ahead Options
These Light and Fluffy Angel Food Cakes are perfect for meal prep, allowing you to spend less time in the kitchen on busy days. You can prepare the batter up to 24 hours in advance; simply store it covered in an airtight container in the refrigerator to maintain its freshness. To keep the egg whites from deflating, be sure to mix them right before folding in the dry ingredients. When you’re ready to bake, spoon the batter into the tube pan and bake as usual. This prep-ahead method ensures your angel food cake emerges fluffy and delicious, perfect for any celebration or weekday indulgence!
Angel Food Cake Recipe FAQs
How do I choose the right egg whites?
Absolutely! For the best results, use large egg whites that are at room temperature. This helps them whip up to their maximum volume, giving your Angel Food Cake that signature light and airy texture. Fresh eggs are ideal, but if you can’t get them right away, just let them sit out for about 30 minutes before whipping.
What is the best way to store leftover Angel Food Cake?
To keep your Angel Food Cake fresh, store it in an airtight container at room temperature for up to 2 days. If you’d like to extend its shelf life, wrap it tightly in plastic wrap and place it in the refrigerator, where it should last 2-3 days. For longer storage, freeze it in a freezer-safe bag for up to 4 months, ensuring to thaw it in the fridge overnight before serving.
Can I freeze Angel Food Cake? How do I do that?
Absolutely! Freezing your Angel Food Cake is a great way to keep it for future enjoyment. First, allow the cake to cool completely. Then, wrap it tightly in plastic wrap, pressing out as much air as possible. Place the wrapped cake in a freezer-safe bag. When you’re ready to enjoy it, just thaw it in the refrigerator for a few hours or overnight. This method helps retain its fluffy texture and fresh flavor.
What should I do if my cake collapses after baking?
Very! If your cake has collapsed, it could be due to a few factors. First, ensure that your egg whites are whipped adequately to stiff peaks before folding in the flour—under-whipping can lead to deflation. Next, avoid opening the oven door during baking, as sudden temperature changes can cause it to collapse. If this happens, don’t worry—your cake can still be flavorful, and you can enjoy it as a pudding-like dessert!
Are there any dietary considerations I should be aware of with Angel Food Cake?
Yes! Angel Food Cake is generally gluten-free when made with gluten-free cake flour, which is perfect for those with gluten sensitivities. However, always check the labels of your ingredients to avoid cross-contamination. Additionally, it contains egg whites, so those with egg allergies should consider alternatives. This dessert is low in fat and cholesterol, making it a lighter option for many diets.
Can I customize the flavor of my Angel Food Cake?
Very! One of the best features of Angel Food Cake is its versatility. You can easily swap out the almond extract for vanilla or lemon zest, depending on your flavor preference. Want to elevate it further? Add a touch of lime or orange zest for a citrusy twist! You can also incorporate extracts like coconut or even a hint of peppermint for a holiday version. The more, the merrier!
Light and Fluffy Angel Food Cake for Any Celebration
Ingredients
Equipment
Method
- Begin by placing your egg whites in a large bowl at room temperature for about 30 minutes.
- Sift together 0.5 cups of sugar and the cake flour twice, ensuring a light combination devoid of lumps.
- Position the oven rack at the lowest level and preheat your oven to 350°F (175°C).
- In your bowl with the egg whites, add the cream of tartar, vanilla extract, almond extract, and salt. Beat on medium speed until soft peaks form, about 3-5 minutes.
- Gradually add the remaining sugar, two tablespoons at a time, while continuing to beat on high until you reach stiff peaks, approximately 2-4 minutes more.
- Gently fold the sifted flour mixture into the whipped egg whites, adding about 0.5 cups at a time.
- Spoon the batter into an ungreased 10-inch tube pan and distribute evenly.
- Place the pan in the preheated oven and bake for 35-40 minutes until the top is lightly browned and springs back when touched.
- Invert the pan immediately and allow the cake to cool completely for about 1 hour.
- Once cooled, run a knife along the edges to loosen the cake gently and remove it from the pan.
- Serve topped with whipped cream and fresh berries.
Leave a Reply