
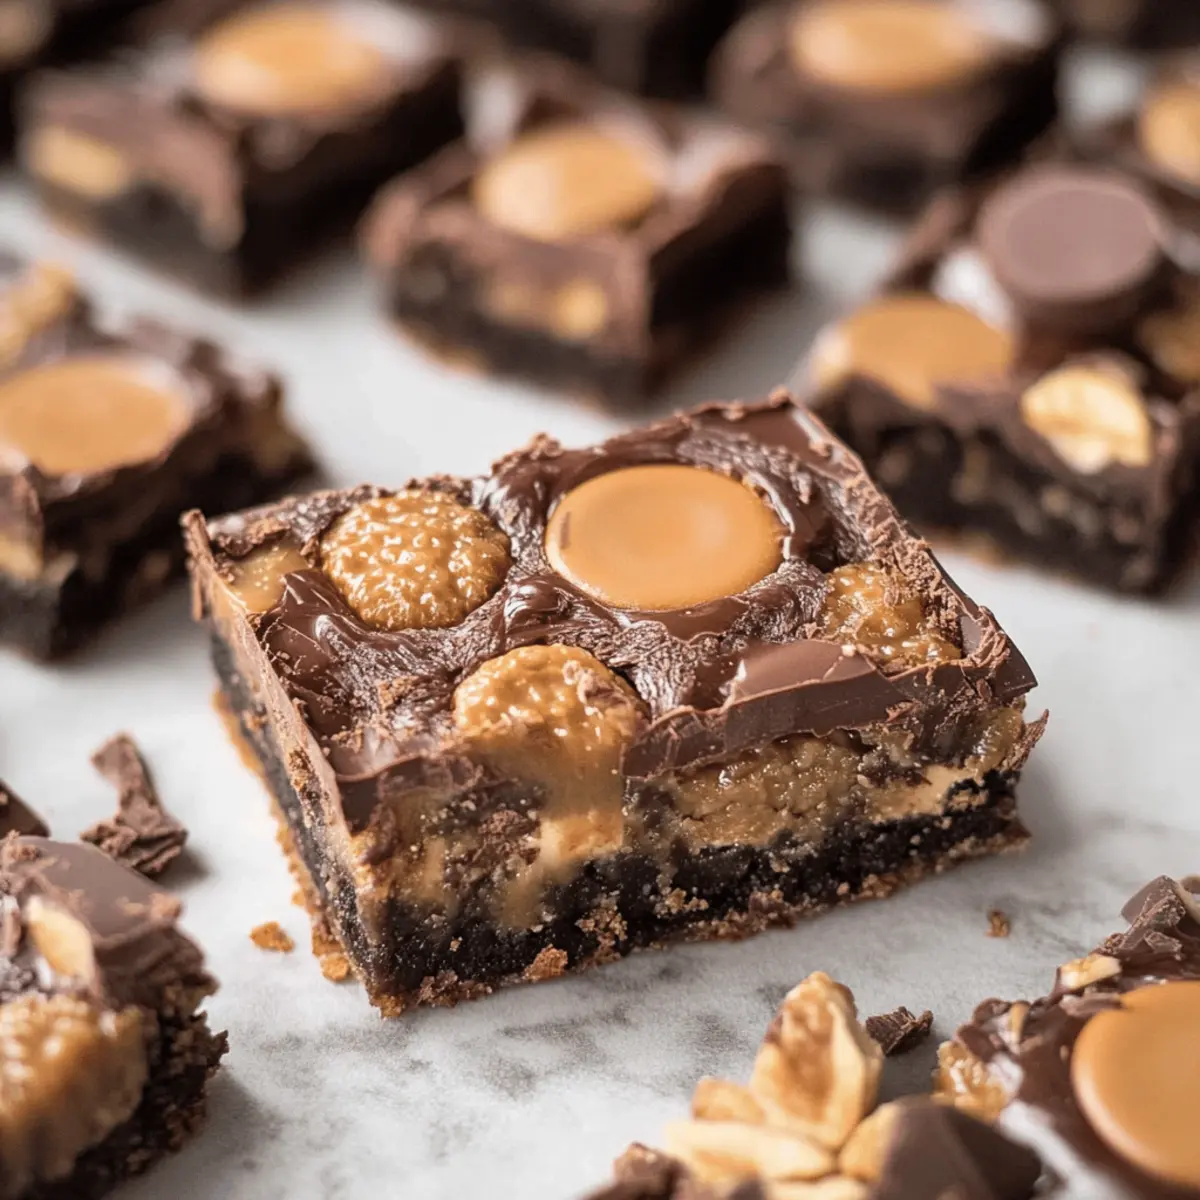
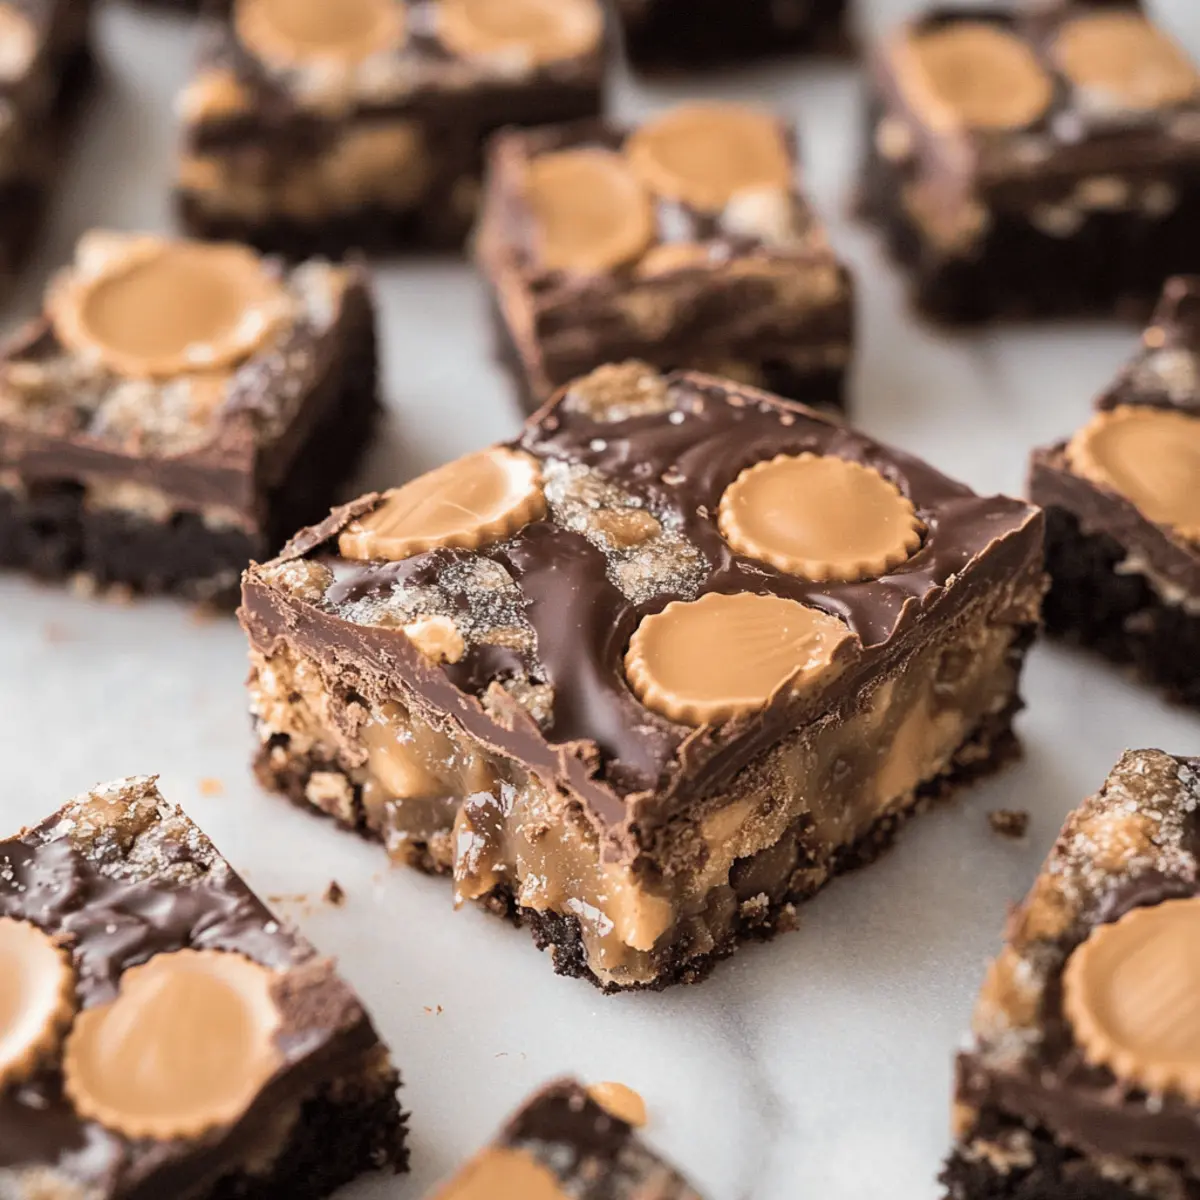
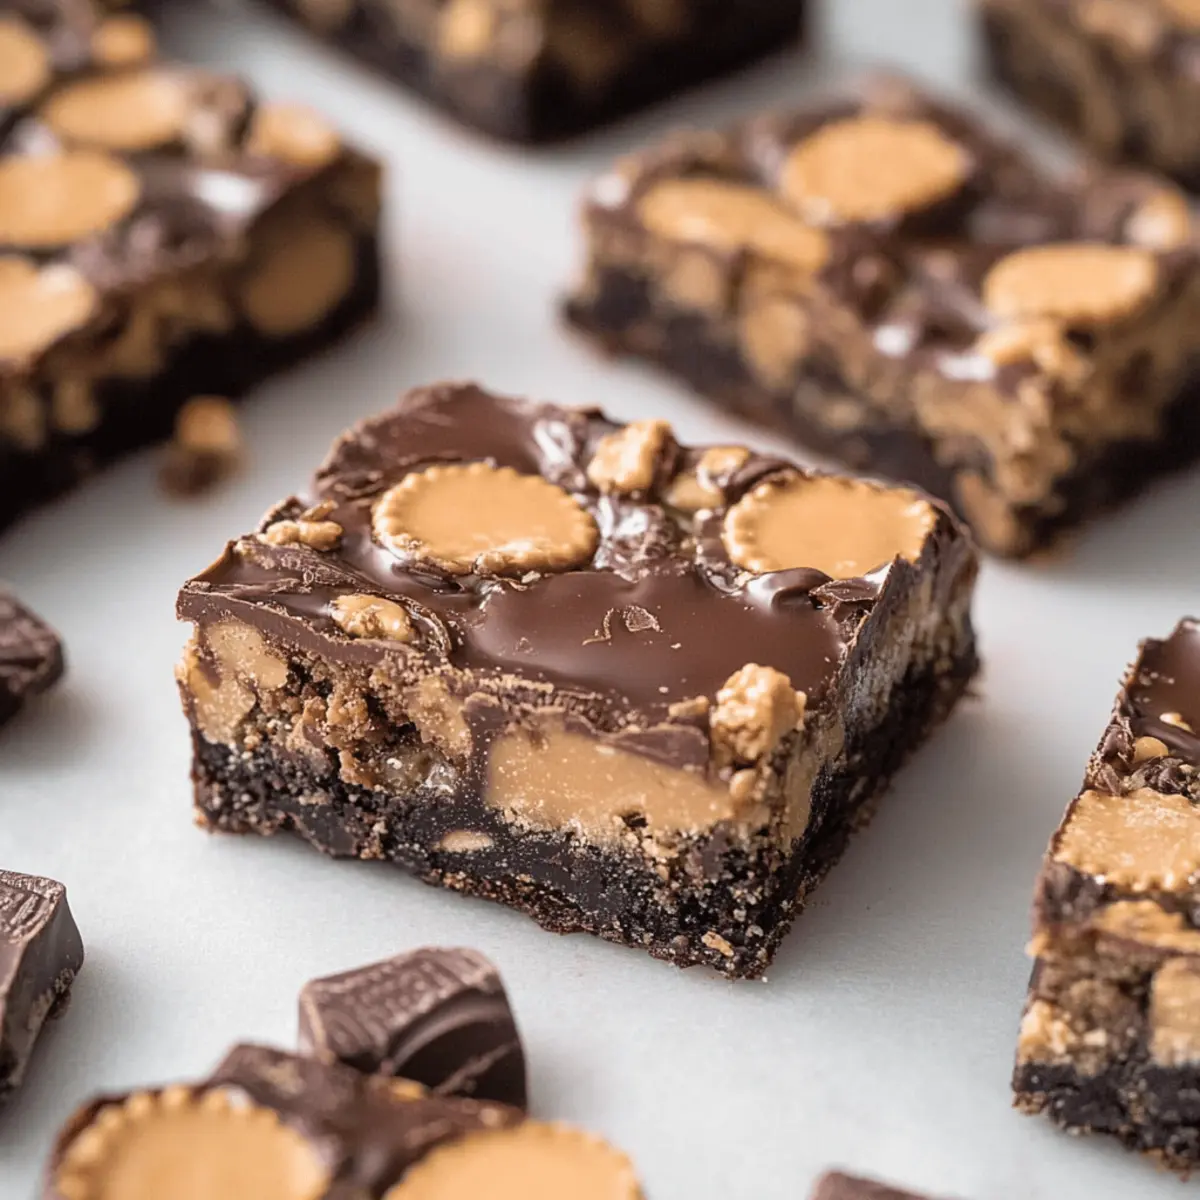
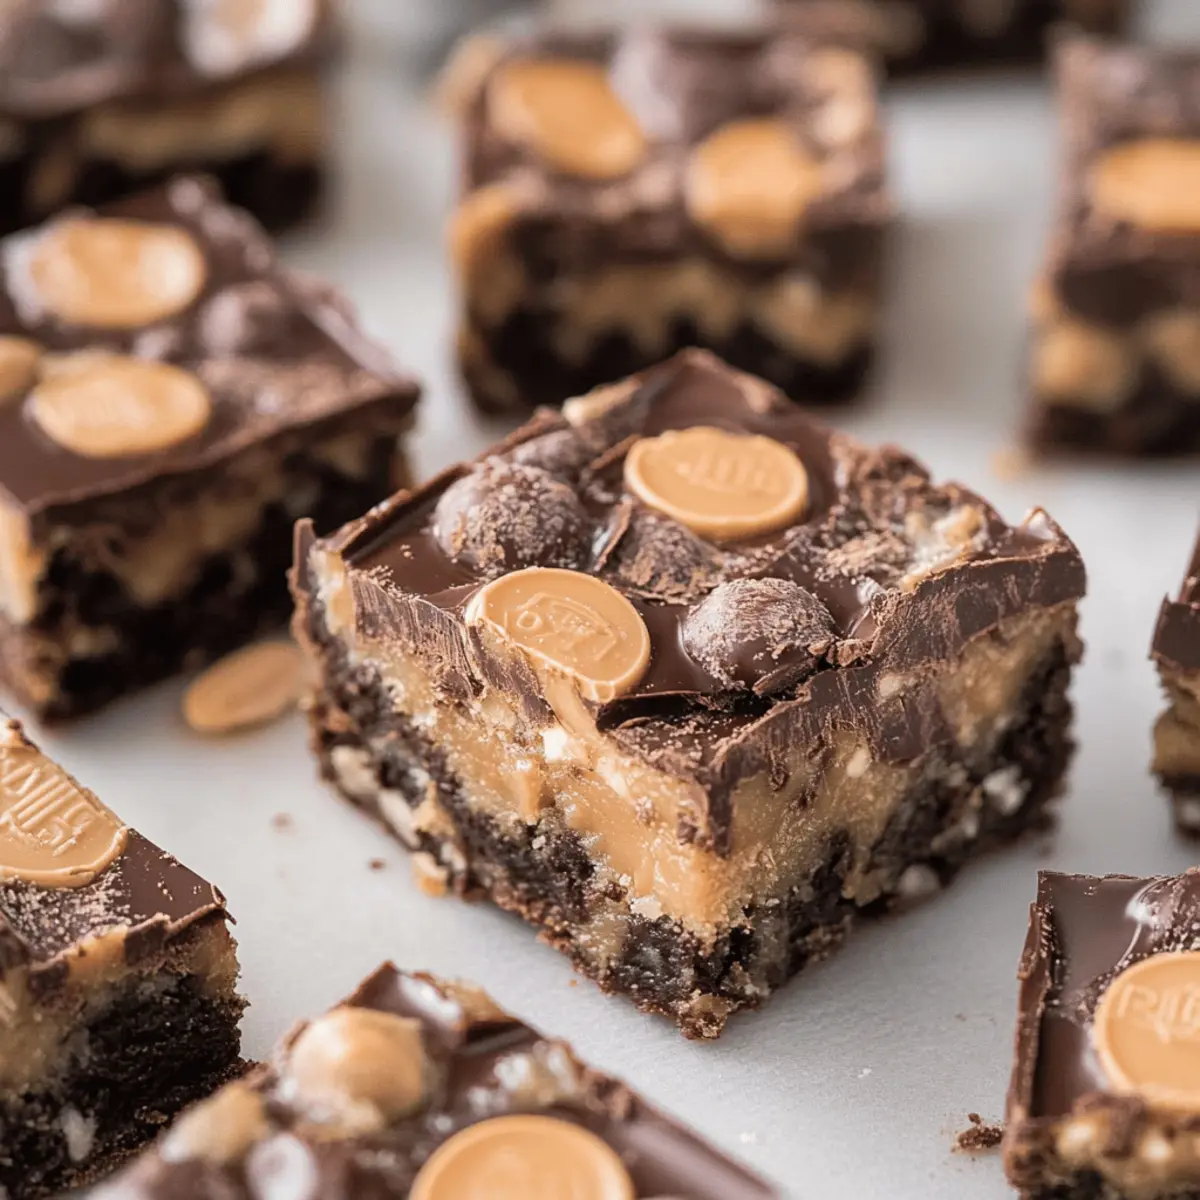
As I stood in my kitchen, the sweet aroma of melting chocolate blended with peanut butter transported me back to carefree childhood days spent baking with friends. If you adore that irresistible combination, then let me introduce you to Reese’s Bars—your new go-to dessert. With a rich brownie mix forming the perfect base, these bars are topped with creamy, chopped Reese’s cups and drizzled with velvety sweetened condensed milk, ensuring every bite is a gooey delight. This no-bake treat is not only a breeze to whip up but also a guaranteed hit at any gathering, making it an ideal choice for your next potluck or family gathering. Have you ever tasted a dessert that feels both nostalgic and indulgent? Let’s dive into this easy recipe that’s bound to satisfy your sweet tooth!
Why are Reese’s Bars so irresistible?
Irresistible Combination: The marriage of rich chocolate and creamy peanut butter creates a flavor explosion that appeals to any sweet tooth.
No-Bake Convenience: With a quick preparation process, these treats require minimal effort, leaving you more time to enjoy life or whip up other delights!
Crowd-Pleasing Results: Perfect for gatherings, they are sure to impress friends and family alike, becoming the star of any dessert table.
Customizable Delights: Feel free to experiment with additions like crushed pretzels or different chocolate chips to fit your unique tastes.
Childhood Nostalgia: Baking these bars will take you back to simpler times, making every bite a sweet memory in itself! Add them to your collection of no-bake desserts for effortless entertaining.
Reese’s Bars Ingredients
Get ready to indulge in homemade magic!
For the Base
- Brownie Mix – Use a 19 or 19.1 oz box for the best texture; brands like Ghirardelli or Betty Crocker work perfectly.
- Unsalted Butter (1/2 cup / 113g) – Adds richness; can be easily substituted with margarine if desired.
- Egg (1 large) – Critical for the structure; no substitutes recommended.
- Vegetable Oil (1/4 cup / 59ml) – Keeps the bars moist; melted coconut oil is a great alternative.
For the Topping
- Reese’s Peanut Butter Cups (6, chopped) – These delightful chunks create that signature flavor; feel free to add more for an extra treat!
- Peanut Butter Chips (1/2 cup / 85g) – Intensifies that iconic peanut flavor; chocolate chips can be swapped for a different taste.
- Sweetened Condensed Milk (14 oz) – Drizzle on top for a gooey goodness essential for Reese’s Bars; about 3/4 of the can is used for the perfect balance.
Step‑by‑Step Instructions for Reese’s Magic Bars
Step 1: Preheat and Prepare the Pan
Begin by preheating your oven to 350°F (175°C) to ensure it’s hot and ready for baking. Line a 9×13 inch baking dish with aluminum foil, leaving some overhang for easy removal. Lightly spray the foil with non-stick cooking spray to prevent the Reese’s Bars from sticking. Setting up your pan properly is key to achieving perfectly cooked bars!
Step 2: Mix the Brownie Base
In a large mixing bowl, combine ½ cup of softened unsalted butter, one large egg, and ¼ cup of vegetable oil. Gradually add in the brownie mix, using a spatula to blend until a thick batter forms. This should take about 2-3 minutes. Once combined, press the mixture evenly into the bottom of your prepared pan, creating a smooth, even layer that will serve as the delightful base for your Reese’s Bars.
Step 3: Add the Toppings
Sprinkle the chopped Reese’s Peanut Butter Cups evenly across the brownie base, followed by ½ cup of peanut butter chips. Make sure the toppings are distributed uniformly for a satisfying bite in every square. The contrast of creamy peanut butter and chocolate atop your base will create the rich flavors you desire in these Reese’s Bars!
Step 4: Drizzle with Sweetened Condensed Milk
Carefully drizzle about ¾ of a 14 oz can of sweetened condensed milk over the toppings, ensuring some of the brownie base remains visible for the perfect texture balance. This luscious milk will meld with the chocolate and peanut butter, creating that characteristic gooeyness. Use a spoon to spread it out if necessary, giving it a nice coating.
Step 5: Bake the Bars
Place the pan in the preheated oven and bake for 28-30 minutes. You’ll know your Reese’s Bars are done when the edges start to set and the center has a slight jiggle but appears firm. Keep an eye on them to avoid overcooking, as you want a perfectly chewy texture in the center.
Step 6: Cool and Slice
Once baked, take the pan out of the oven and allow it to cool at room temperature for about 10 minutes. Then, cover the pan with foil and refrigerate for at least an hour to firm up the layers. Once completely cooled, lift the bars out using the foil overhang and cut into squares. This step ensures clean cuts and easy serving of your delicious Reese’s Bars!
How to Store and Freeze Reese’s Bars
Airtight Container: Store your Reese’s Bars in an airtight container at room temperature for up to 5 days to keep them fresh and delicious.
Refrigeration: If you prefer, you can refrigerate the bars to extend their freshness; they’ll last up to 7 days in the fridge.
Freezer: For longer storage, freeze the bars wrapped tightly in plastic wrap or foil, then place them in a freezer-safe container. They can be frozen for up to 3 months.
Reheating: To enjoy your frozen Reese’s Bars, simply thaw them in the fridge overnight before serving. For a warm treat, heat individual pieces in the microwave for about 10-15 seconds.
What to Serve with Reese’s Magic Bars?
Elevate your dessert experience with delightful pairings that complement the gooey, chocolatey richness of these treats.
-
Vanilla Ice Cream: A classic choice, the creamy vanilla perfectly balances the flavors, adding a refreshing touch.
-
Fresh Berries: Add a pop of color and acidity with raspberries or strawberries, enhancing both flavor and presentation.
-
Whipped Cream: Light and airy, whipped cream softens the rich bars while providing a delightful texture contrast.
-
Chocolate Drizzle: For the ultimate indulgence, drizzle additional melted chocolate on top, echoing the rich chocolate flavor of the bars.
-
Coffee or Espresso: A warm cup of coffee complements the sweet flavors, awakening your palate with each decadent bite.
-
Milkshake: A rich chocolate or peanut butter milkshake makes for a decadent drink pairing that’s sure to delight.
-
Salted Caramel Sauce: Drizzling salted caramel over the bars adds a sweet and salty dimension for a gourmet touch.
-
Peanut Butter Sauce: Reinforce the peanut butter flavor by drizzling a homemade peanut butter sauce over the bars, intensifying their taste.
Variations for Reese’s Bars
Feel free to unleash your creativity in the kitchen with these delightful twists and substitutions to make these bars truly your own!
- Dairy-Free: Use coconut milk or almond milk sweetened condensed milk for a non-dairy alternative without losing the gooey goodness.
- Crunchy Texture: Add crushed pretzels or chopped nuts for an unexpected crunch, balancing the sweet and salty for a unique flavor profile. The contrast will elevate each bite!
- Extra Reese’s: If you’re a true peanut butter lover, try adding more Reese’s cups or even layer them between the brownie base for that over-the-top indulgence.
- Nutty Swap: Experiment with almond or cashew butter instead of peanut butter for a delightful and slightly different nutty flavor that still encapsulates that creamy goodness.
- Flavor Fusion: Mix in butterscotch or white chocolate chips along with your peanut butter chips for a sweet twist that adds depth to the overall flavor!
- Spicy Kick: For those who love heat, add a pinch of cayenne pepper or crushed red pepper flakes to the brownie mix, creating a sweet and spicy contrast sure to intrigue your taste buds.
- Gluten-Free Option: Use gluten-free brownie mix for a tasty treat that everyone can enjoy, ensuring no one feels left out from this chocolaty delight.
- Mini Version: Turn these bars into bite-sized treats by using a mini muffin tin, baking for a shorter time to create perfectly portioned magic bars that are just as delicious!
Don’t forget to incorporate fun mix-ins to craft your own signature version—after all, every Reese’s Bars recipe is a canvas for your taste! Consider trying out the classic no-bake desserts we’ve showcased, offering endless possibilities for fun desserts!
Expert Tips for Reese’s Bars
-
Right Mix Size: Ensure you use a 19 oz brownie mix for the ideal texture. Anything smaller could lead to dry, crumbly bars.
-
Butter Insights: If using margarine instead of unsalted butter, ensure it’s softened properly; otherwise, it won’t blend well into the batter.
-
Chop Smartly: Chop the Reese’s Peanut Butter Cups into uneven sizes for a delightful texture contrast throughout the bars, enhancing your Reese’s Bars experience.
-
Perfect Drizzle: Drizzle the sweetened condensed milk lightly so that it seeps down without saturating the brownie base too much. This keeps your bars from becoming overly gooey.
-
Cool Completely: Cool the bars at room temperature before refrigerating, allowing them to set properly for clean slicing.
Make Ahead Options
Reese’s Bars are ideal for meal prep, allowing you to savor their deliciousness without the last-minute rush. You can prepare the brownie base up to 24 hours in advance by mixing the ingredients and pressing them into the pan; simply cover tightly with plastic wrap to keep it fresh. Additionally, you can chop the Reese’s cups and measure out the peanut butter chips up to 3 days ahead, storing them in airtight containers to maintain quality. When you’re ready to serve, just add the toppings, drizzle with sweetened condensed milk, and bake! You’ll enjoy the same gooey, rich flavor with minimal effort, making your dessert planning a breeze!
Reese’s Magic Bars Recipe FAQs
How do I select ripe ingredients for my Reese’s Bars?
Absolutely! When choosing the unsalted butter, make sure it’s soft to blend well into the batter; look for no visible lumps. For the eggs, use large and fresh eggs that are not cracked. Having the right ingredients ensures a tasty end product.
What’s the best way to store leftover Reese’s Bars?
You can store your Reese’s Bars in an airtight container at room temperature for up to 5 days to maintain their deliciousness. If you’d like to keep them fresh for a little longer, placing them in the refrigerator will extend their shelf life to about a week!
Can I freeze Reese’s Bars, and if so, how?
Very! To freeze your Reese’s Bars, wrap each piece tightly in plastic wrap or foil, then place them in a freezer-safe container or a resealable plastic bag. They will stay good for up to 3 months. When you’re ready to enjoy, simply thaw them in the fridge overnight or pop them in the microwave for about 10-15 seconds for a warm, gooey treat!
What should I do if my bars are too gooey after baking?
If you find your Reese’s Bars are too gooey, it could be due to oversaturation from the sweetened condensed milk. Make sure to drizzle it lightly and not use the entire can. Also, cooling them completely before cutting helps them firm up more. Refrigeration can also aid in getting that perfect slice!
Are there any dietary concerns I should be aware of for Reese’s Bars?
Certainly! While these bars contain chocolate and peanut butter, ensure to check for any allergies, especially with peanuts and dairy. If you’re making these bars for friends or family, it’s a great idea to ask about any dietary restrictions beforehand. You can also customize the recipe for nut-free alternatives if needed.
Decadent Reese's Bars That Will Wow Your Taste Buds
Ingredients
Equipment
Method
- Preheat your oven to 350°F (175°C). Line a 9x13 inch baking dish with aluminum foil and spray with non-stick cooking spray.
- In a large mixing bowl, combine ½ cup of softened unsalted butter, one large egg, and ¼ cup of vegetable oil. Gradually add in the brownie mix and blend until a thick batter forms.
- Press the mixture evenly into the prepared pan to create the brownie base.
- Sprinkle the chopped Reese’s Peanut Butter Cups and peanut butter chips evenly across the brownie base.
- Drizzle about ¾ of a 14 oz can of sweetened condensed milk over the toppings.
- Bake for 28-30 minutes until edges are set and center has a slight jiggle.
- Cool at room temperature for about 10 minutes, then refrigerate for at least an hour before slicing into squares.
Leave a Reply