
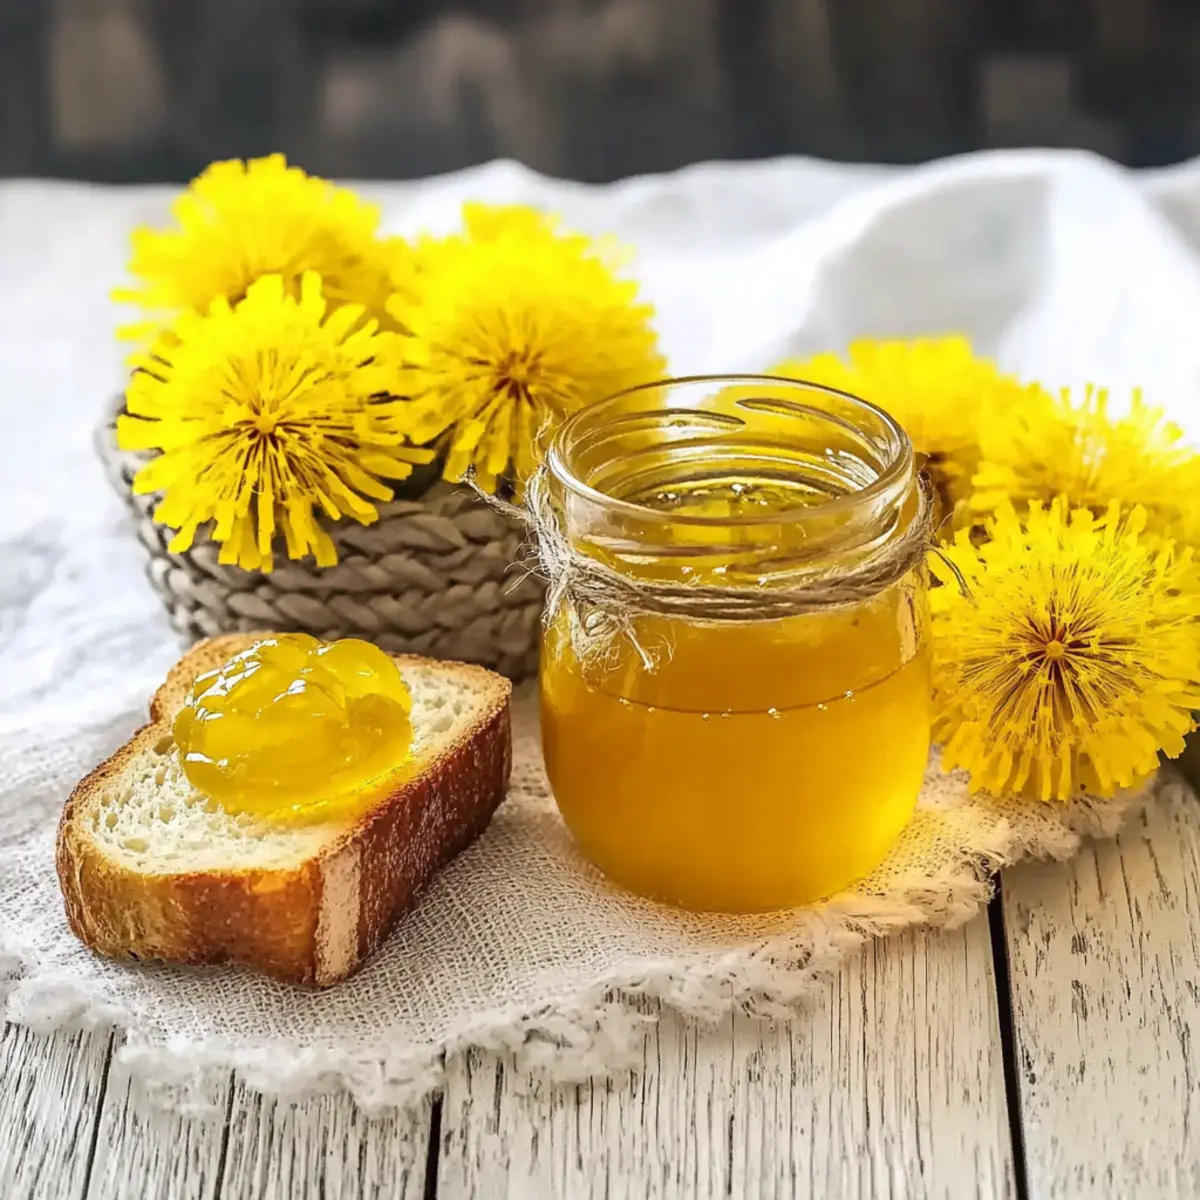
As I wandered through my garden one sunny afternoon, I was captivated by a sea of cheerful yellow blooms beckoning me closer. Those dandelions, often dismissed as mere weeds, hold a secret treasure: Homemade Dandelion Jelly! This delightful spring concoction is the perfect way to turn your backyard bounty into a sweet sensation for your breakfast table. With just a handful of ingredients and a simple canning process, you’ll create a vibrant jelly that not only brings a taste of spring to any dish but also offers a fun and unique twist on traditional spreads. Whether slathered on toast or dolloped over pancakes, this jelly is sure to be a crowd-pleaser. Curious to learn how to transform those bright dandelion petals into your new favorite delight? Let’s dive in!
Why Make Dandelion Jelly?
Uniquely Delicious: This jelly transforms humble dandelion petals into a gourmet treat, offering a delightful floral sweetness that’s unlike any store-bought jam.
Simple Steps: The process is easy; with just a few ingredients, you can master the art of canning, making it accessible even for beginners.
Seasonal Indulgence: Capture the essence of spring year-round with this vibrant jelly. It’s perfect for elevating brunch or snacking.
Health Benefits: Packed with vitamins A, C, and K, this jelly not only tastes good but also offers health perks you won’t find in ordinary preserves.
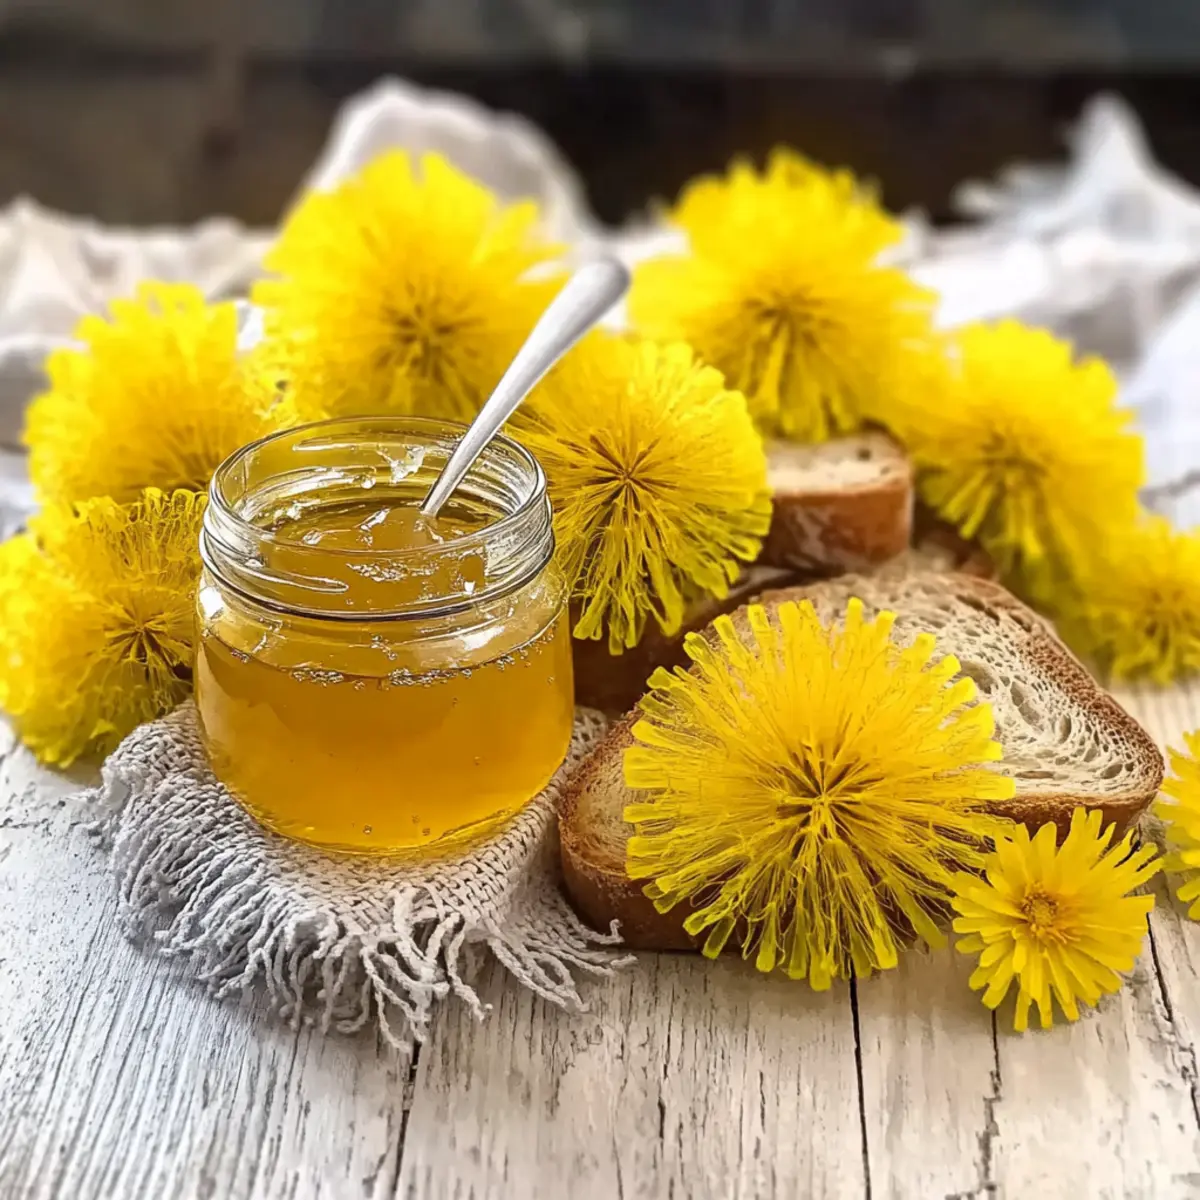
Versatile Uses: Use it on toast, pancakes, or create unique appetizers by mixing it with cream cheese—get creative! Your friends will love it!
Dandelion Jelly Ingredients
For the Jelly Base
• Dandelion Petals – 2 cups; the main flavor component, ensuring you only use the yellow petals without any green parts or stems.
• Boiling Water – 2 cups; to steep your dandelion petals and create a lovely dandelion tea.
• Lemon Juice – 1/4 cup; adds acidity to balance the sweetness and enhance the flavor of the dandelion jelly.
• Granulated Sugar – 4 cups; crucial for sweetening and aiding the jelly’s gelling process.
• Fruit Pectin (Certo) – 1 package; essential for achieving the jelly’s proper consistency.
Optional Enhancements
• Yellow Food Coloring – optional; use this to achieve a bright, cheerful yellow if desired.
• Honey – optional; a natural sweetener that can enhance flavor and color, but make sure to adjust sugar quantity if you include it.
Step‑by‑Step Instructions for Dandelion Jelly
Step 1: Harvest Dandelions
Begin your adventure by picking 2 cups of loose yellow dandelion petals from a chemical-free area in your garden. Be sure to avoid any green parts or stems, as they can affect the flavor of your Dandelion Jelly. After harvesting, gently rinse the petals under cool water to remove any dirt or insects, setting the stage for your delicious creation.
Step 2: Steep Petals
In a measuring cup, place the rinsed dandelion petals and cover them with 2 cups of boiling water. Allow the petals to steep for a timeless 24 hours, letting the floral essence infuse the water. You’ll know it’s ready when the liquid takes on a vibrant yellow hue, reminiscent of the cheerful blooms you started with—an eager invitation to your upcoming jelly.
Step 3: Strain Tea
After steeping, grab a large pot and set up a strainer to separate the petals from the fragrant dandelion tea. Pour the steeped liquid through the strainer, allowing all the flavorful essence to flow into the pot below. This fragrant tea will act as the foundation for your Dandelion Jelly, ensuring a lovely floral sweetness throughout.
Step 4: Mix Ingredients
With your strained dandelion tea in the pot, stir in 1/4 cup of freshly squeezed lemon juice. This addition not only balances the sweetness but also enhances the overall flavor profile of your Dandelion Jelly. Next, gradually add 4 cups of granulated sugar, stirring until fully combined, and watch as the mixture transforms into a sweet concoction ready for bubbling.
Step 5: Boil Mixture
Place the pot over medium-high heat and bring your mixture to a full rolling boil, stirring constantly for about 2 minutes. You’ll want to see large bubbles rapidly rising and breaking the surface; this visual cue indicates that the sugar has fully dissolved and is creating a syrupy base for your jelly.
Step 6: Add Pectin
With the mixture at a boil, it’s time to stir in the package of fruit pectin (Certo). Make sure to mix it in well, then return your concoction to a boil for an additional 2 minutes, stirring frequently. You should see the mixture thickening, signifying that it’s on its way to becoming the beautiful Dandelion Jelly you’re dreaming of.
Step 7: Remove Foam
As your jelly reaches the final stages, look for any foam or impurities that may have formed on the surface. Gently skim off this foam using a spoon to ensure a smooth jelly texture and presentation. This small step guarantees that your Dandelion Jelly has an elegant finish when it’s time to serve or gift.
Step 8: Add Color
If you desire a vibrant, eye-catching jelly, now is the time to stir in a few drops of yellow food coloring. This step is completely optional but can enhance the visual appeal of your Dandelion Jelly, making it as bright and cheery as the flowers themselves. Mix thoroughly until you achieve your desired color.
Step 9: Jar Filling
Prepare for the canning process by ladling the hot jelly into sterilized half-pint jars. Be careful to leave about 1/4 inch of headspace at the top of each jar. This space is crucial for proper sealing and ensures the best storage conditions for your delightful Dandelion Jelly, containing the essence of spring.
Step 10: Seal Jars
Wipe the rims of the jars with a clean cloth to remove any sticky residue. Apply the seals and rings tightly, then process jars in a water bath canner for 10 minutes. This step is essential for preserving your Dandelion Jelly for long-term enjoyment, allowing you to savor the flavors of spring all year round.
What to Serve with Dandelion Jelly
Experience a delightful culinary adventure that transforms breakfast into a vibrant feast full of flavor and texture.
-
Creamy Mashed Potatoes: The buttery richness of these potatoes creates a beautiful contrast against the sweet floral notes of dandelion jelly.
-
Freshly Baked Scones: Flaky and tender, scones pair beautifully with dandelion jelly, making for a delightful afternoon tea treat that’s hard to resist.
-
Greek Yogurt Parfait: Layer with granola and a drizzle of dandelion jelly for a nutritious and visually stunning breakfast option. It’s a great way to start your day!
-
Cheese Platter: Soft cheeses like brie or goat cheese are perfect companions; their creamy texture complements the sweet dandelion jelly in a delightful way.
-
Pancakes or Waffles: Drizzle dandelion jelly over warm pancakes or waffles for a burst of spring flavor, adding sweetness to your morning routine.
-
Savory Cream Cheese Spread: Mix the jelly into cream cheese for a flavorful spread on crackers that can be a hit at any gathering. The floral notes bring a unique twist to traditional dips.
-
Sparkling Lemonade: Pair this jelly with a refreshing sparkling lemonade for a bright drink that echoes the flavors of spring.
-
Fruit Salad: A vibrant mix of seasonal fruits will enhance the lovely sweetness of dandelion jelly, creating a refreshing side or dessert!
-
Shortbread Cookies: These simple cookies offer a delicate crunch, making them an excellent base for a layer of sweet dandelion jelly for a delightful treat.
-
Vanilla Ice Cream: Drizzle warm dandelion jelly over vanilla ice cream for a sweet and floral dessert that will enchant your taste buds.
How to Store and Freeze Dandelion Jelly
Cool Place: Once sealed, store your jars of Dandelion Jelly in a cool, dark place, which will help preserve their vibrant flavor for up to 1 year.
Refrigeration: After opening, keep the jelly in the fridge where it can last for about 3–4 weeks. Make sure to seal it tightly after each use to maintain freshness.
Freezer Storage: If you need to freeze your Dandelion Jelly, pour it into airtight containers, leaving some headspace for expansion, and enjoy within 6 months.
Thawing Tips: To enjoy frozen jelly, transfer it to the fridge overnight for gentle thawing, and then use as desired. Remember, this homemade Dandelion Jelly brings spring to your table all year long!
Dandelion Jelly Variations & Substitutions
Explore the delightful world of customization with these Dandelion Jelly variations that will elevate your culinary experience.
-
Citrus Twist: Replace lemon juice with lime juice for a zesty, refreshing flavor that brightens your jelly. The tartness of lime adds an unexpected twist that’s sure to surprise your taste buds.
-
Honey-Sweetened: Swap half of the sugar for honey to enhance the floral notes of the dandelions. Adjust to taste; honey adds both sweetness and a unique richness that truly complements the jelly.
-
Floral Infusion: Combine dandelion petals with other edible flowers like lilacs or violets for a charming bouquet of flavors. Just be sure to confirm their edibility before adding them to your mix!
-
Spicy Kick: Trying adding a pinch of red pepper flakes to the mix before boiling for a subtle heat infusion. This warming spice elevates the jelly, offering a unique flavor explosion with every spread.
-
Chai Spice Addition: Infuse the boiling water with chai spices like cinnamon and cardamom for a cozy, aromatic twist. The warmth of the spices lends a comforting depth to the lighter floral notes in your Dandelion Jelly.
-
Mixed Fruit Fusion: Consider adding a cup of crushed fruit, like peaches or strawberries, to your mixture for a sweet and fruity jelly. This delightful combination balances the floral notes beautifully.
-
Nutty Flavor: Drizzle in a teaspoon of almond or vanilla extract during the mixing stage. This sweet undertone adds a complex flavor profile that’s sure to impress and tantalize the palate.
For additional delicious recipes, feel free to check out our guide on Canning Your Garden Bounty and explore unique options like Spicy Jalapeno Plum Jelly. With these variations, your homemade Dandelion Jelly will delight family and friends at every occasion!
Expert Tips for Dandelion Jelly
Select Wisely: Always harvest dandelions from unsprayed, chemical-free areas to ensure the safety and purity of your Dandelion Jelly.
Rinse Thoroughly: Cleaning the petals is crucial. Rinse them well under water to remove any dirt or insects that may linger.
Timing Matters: Adhere to the boiling times to achieve optimal jelly texture. Overcooking can yield a gummy jelly while undercooking results in a runny mess.
Adjust Sweetness: If using honey, reduce the sugar by half a cup to maintain the right sweetness balance without compromising flavor.
Make It Your Own: Feel free to experiment by substituting lemon juice with lime juice for a different citrus twist or adding other edible flowers for unique flavor profiles.
Make Ahead Options
These Dandelion Jelly preparations are perfect for busy home cooks! You can steep the dandelion petals in boiling water up to 24 hours in advance, allowing the floral essence to develop while saving you time when you’re ready to finish your jelly. Simply cover the jar of steeping petals and refrigerate until you’re ready to strain and cook. The blended mixture of water and dandelion tea can also be prepared up to 3 days in advance, just ensure it’s stored in an airtight container to maintain its freshness. When you’re ready to finalize your jelly, simply add the other ingredients, bring the mixture to a boil, and can it as directed. This way, you’ll have delicious Dandelion Jelly ready to enjoy with minimal effort whenever you need it!
Dandelion Jelly Recipe FAQs
How do I select ripe dandelion petals for the jelly?
Absolutely! When harvesting dandelion petals, choose the ones that are fully open and bright yellow. Avoid any petals that have green parts or stems, as these can impart a bitter flavor to your jelly. Always pick from unsprayed areas to ensure you’re using safe, organic ingredients.
How should I store my Dandelion Jelly after making it?
Once your Dandelion Jelly is sealed in jars, store them in a cool, dark place like a pantry or cupboard. Properly sealed, your jelly can last up to 1 year without losing its vibrant flavor. Once opened, keep it in the refrigerator where it will remain fresh for about 3–4 weeks. Make sure to seal it tightly after every use!
Can I freeze Dandelion Jelly, and if so, how?
Very! To freeze your homemade Dandelion Jelly, first allow it to cool completely. Then, transfer the jelly into airtight containers, leaving about 1 inch of headspace to account for expansion. You can also use freezer-safe jars. Enjoy it within 6 months for the best flavor. When you’re ready to use, just place it in the fridge overnight to thaw.
What should I do if my Dandelion Jelly doesn’t set properly?
If your jelly doesn’t set, don’t worry! It might just need more time. You can reprocess it by pouring the jelly back into a pot, adding a bit more fruit pectin (about 1/4 to 1/2 packet), and bringing it to a full boil again for 1-2 minutes while stirring constantly. Skim off any foam, then re-jar it, ensuring proper sealing.
Are there any dietary considerations for Dandelion Jelly?
Indeed! While Dandelion Jelly is generally safe, if you or anyone you’re serving it to has allergies to dandelions or other flowering plants, it’s best to avoid it. Additionally, keep in mind that the sugar content can be substantial, so those monitoring their sugar intake may want to adjust accordingly or explore alternative sweeteners like honey.
How can I customize my Dandelion Jelly?
The more the merrier! You can mix in 1/4 cup of lime juice instead of lemon for a zesty twist or even combine petals from other edible flowers, like violets or elderflowers, for unique flavor profiles. Just make sure they are confirmed edible!
Delightful Dandelion Jelly: Spring’s Sweet Secret Spreading Fun
Ingredients
Equipment
Method
- Harvest 2 cups of dandelion petals, rinse thoroughly and set aside.
- Steep petals in 2 cups of boiling water for 24 hours.
- Strain the liquid to separate petals from dandelion tea.
- Mix in 1/4 cup lemon juice and 4 cups sugar into the strained tea.
- Boil the mixture, stirring constantly, for about 2 minutes.
- Add the pectin, boil for another 2 minutes while stirring.
- Skim off foam to ensure a smooth texture.
- Stir in optional yellow food coloring if desired.
- Ladle the hot jelly into sterilized jars, leaving 1/4 inch headspace.
- Seal jars and process in a water bath canner for 10 minutes.
Leave a Reply