
“Can you believe it?” I overheard my friend exclaim as she took a bite of the latest culinary creation I had whipped up—Cheesy Garlic Chicken Wraps. It’s moments like these that remind me how food has the power to bring people together, sparking joy with every flavorful bite. These wraps are not only customizable to fit your taste preferences, but they’re also a quick meal solution ideal for busy weeknights or casual gatherings. Imagine juicy, tender chicken mixed with gooey cheese and aromatic garlic, all wrapped up in a warm tortilla—comfort food at its finest! Whether you prefer a little heat from pepper jack or a mild touch with mozzarella, the possibilities are endless. What’s your favorite twist on this delicious wrap?
Why are Cheesy Garlic Chicken Wraps irresistible?
Irresistible flavors come together in these wraps, featuring juicy chicken and gooey cheese, making every bite a taste sensation. Quick preparation means you can whip them up in no time—perfect for busy weeknights! Fully customizable, you can easily substitute the fillings or spices to suit your family’s preferences. Crowd-pleaser appeal makes them ideal for gatherings; they’re sure to impress guests! For a fun variation, try adding spinach or mushrooms to enhance the nutrition while keeping the flavor vibrant. With the ease of using rotisserie chicken, these wraps truly shine as a go-to favorite!
Cheesy Garlic Chicken Wrap Ingredients
For the Chicken Filling
• Chicken – A protein-packed base; using rotisserie chicken saves precious time!
• Minced Garlic – Infuses the filling with rich flavor; sauté until golden for the best taste.
• Olive Oil – Adds moisture and helps the garlic cook evenly when sautéing.
For the Cheesy Goodness
• Cheddar Cheese – Melts beautifully and offers a sharp flavor; mix in mozzarella for a milder twist.
• Cream Cheese – Brings decadence and creaminess to the filling; you won’t regret it!
For the Wrap
• Tortillas – The delicious vessel for your filling; opt for gluten-free or whole wheat if needed.
• Butter – Essential for toasting the wraps to golden perfection; enhances the texture delightfully.
You can customize these Cheesy Garlic Chicken Wraps with veggies or spices to create a delightful experience tailored to your taste!
Step‑by‑Step Instructions for Cheesy Garlic Chicken Wraps
Step 1: Prepare the Chicken
Start by dicing your rotisserie chicken into bite-sized pieces for the cheesy garlic chicken wraps. Season the chicken generously with salt and pepper, ensuring it’s flavorful. This process should take about 5 minutes, and you’ll want to set it aside while you prepare the garlic mixture.
Step 2: Sauté the Garlic
In a large skillet, heat 2 tablespoons of olive oil over medium heat. Add 2-3 tablespoons of minced garlic and sauté for about 1-2 minutes until the garlic is golden and fragrant, being careful not to burn it. This aromatic step enhances the filling of your cheesy garlic chicken wraps with a rich flavor.
Step 3: Combine Chicken and Cheese
Once the garlic is ready, stir in the diced chicken and let it heat through for another 2-3 minutes. Remove the skillet from the heat and fold in 1 cup of shredded cheddar cheese and 4 ounces of cream cheese. Mix until everything is beautifully combined and creamy, creating a mouthwatering filling for the wraps.
Step 4: Assemble the Wraps
Lay a tortilla flat on a clean surface, and spoon a generous amount of the cheesy chicken mixture into the center. Carefully fold in the sides and roll the tortilla tightly from the bottom up to form a secure wrap. This step is crucial to ensure your cheesy garlic chicken wraps hold their delicious filling.
Step 5: Toast the Wraps
In the same skillet, melt 1 tablespoon of butter over medium heat. Place the wraps seam-side down in the skillet and toast for about 2-3 minutes until golden brown. Use a spatula to gently flip the wraps, ensuring they become evenly crisped on both sides, adding to the delightful texture of your meal.
Step 6: Cool and Slice
After toasting, remove the wraps from the skillet and let them cool for 1-2 minutes on a cutting board. This helps the cheese set slightly and makes handling easier. Once cooled, slice the cheesy garlic chicken wraps in half diagonally, making them perfect for sharing or serving.
Step 7: Garnish and Serve
For a pop of color and freshness, sprinkle chopped parsley on top of the sliced wraps before serving. The cheesy garlic chicken wraps are now ready to be enjoyed; they pair wonderfully with a fresh salad or enjoy them on their own for a tasty treat!
How to Store and Freeze Cheesy Garlic Chicken Wraps
Fridge: Store any leftover cheesy garlic chicken wraps in an airtight container for up to 3 days. This keeps them fresh and ready for quick meals.
Freezer: For longer storage, wrap the cooled wraps tightly in aluminum foil or plastic wrap, and freeze for up to 3 months. Thaw in the fridge before reheating.
Reheating: Reheat in a skillet over medium heat for 5-7 minutes until heated through and crispy. Avoid the microwave to maintain that all-important crunch!
Customization: Feel free to store your wraps with different fillings or spices, ensuring they stay delicious and versatile for your next meal!
Expert Tips for Cheesy Garlic Chicken Wraps
• Use Rotisserie Chicken: Saves time in prep; just shred it and you’re ready to go!
• Watch the Garlic: Sauté until golden, not burnt, to avoid bitterness in your wraps.
• Don’t Overfill: Keep the filling generous but not overflowing—this will help prevent spills when toasting.
• Experiment with Cheese: Try gouda for creaminess or pepper jack for a kick; this keeps your cheesy garlic chicken wraps exciting!
• Toast until Crispy: Ensure the wraps are golden on both sides for the best flavor and texture.
Make Ahead Options
These Cheesy Garlic Chicken Wraps are perfect for meal prep enthusiasts looking to save time during busy weeknights! You can prepare the filling—consisting of chicken, garlic, cheddar, and cream cheese—up to 3 days in advance. Simply cook and combine the ingredients, then store in an airtight container in the refrigerator. To maintain that creamy texture and prevent browning, make sure it’s well-sealed. When you’re ready to serve, just spoon the filling into tortillas, roll them up, and toast in butter for 2-3 minutes until golden. This way, you’ll enjoy delicious, gooey wraps with minimal effort, perfect for busy days!
Cheesy Garlic Chicken Wrap Variations
Feel free to let your creativity shine by customizing these wraps to fit your unique taste preferences!
-
Dairy-Free: Use vegan cream cheese and cashew cheese for a delicious plant-based option.
-
Spicy Kick: Add diced jalapeños or crushed red pepper flakes to the filling for a zesty bite that tantalizes the taste buds.
-
Veggie Boost: Toss in some fresh spinach, mushrooms, or bell peppers. Adding these will not only enhance the nutrition but also create an inviting texture.
-
Gluten-Free: Substitute regular tortillas with gluten-free ones to cater to gluten-sensitive diets, ensuring everyone can enjoy this wrap.
-
Herb-Infused: Sprinkle in some fresh chopped herbs like cilantro or parsley before toasting for an aromatic boost that elevates the flavor profile.
-
Creamy Variation: Experiment with flavored cream cheese, such as garlic & herb, for an added depth to the filling that will keep everyone guessing!
-
Bacon Lover’s Twist: Crumble some crispy bacon into the filling for an extra layer of flavor and texture that will satisfy even the pickiest eaters.
-
BBQ Style: Drizzle some barbecue sauce into the chicken mixture for that sweet and smoky flare, perfect for summer gatherings.
These unique twists on the original wraps are sure to make your meal even more delightful! Pair them with a fresh salad or some crispy sweet potato fries for a well-rounded feast. If you’re interested in other delicious wraps, check out my Cheesy Garlic Chicken options!
What to Serve with Cheesy Garlic Chicken Wraps
Complement your meal with these delightful pairings that elevate your cheesy garlic chicken wraps into a wholesome feast.
- Fresh Green Salad: Crunchy mixed greens tossed with a light vinaigrette add a refreshing contrast that balances the richness of the wraps.
- Seasoned Potato Wedges: Crispy, herb-infused potato wedges offer a hearty side that complements the gooey cheese beautifully. Try adding some parmesan for extra flavor!
- Creamy Tomato Soup: A bowl of this comforting soup is a classic choice that pairs wonderfully with the cheesy goodness of your wraps.
- Garlic Bread: Enhance the garlic flavor experience by serving slices of warm, toasted garlic bread on the side. It’s perfect for those who crave extra indulgence!
- Sweet Potato Fries: These sweet, caramelized fries provide a delightful textural contrast and a hint of sweetness to balance the savory chicken wraps.
- Spicy Salsa: Serving a zesty salsa on the side creates a vibrant flavor explosion that contrasts nicely with the wraps’ cozy comfort.
- Mango Smoothie: A creamy mango smoothie adds a tropical flair, refreshing your palate between bites while enhancing the meal’s overall vibrancy.
- Apple Crisp: For dessert, consider a warm apple crisp topped with vanilla ice cream—its sweet and tart nature is a perfect ending after a satisfying meal.
With these ideas, your cheesy garlic chicken wraps will shine even brighter, creating a heartwarming dining experience for everyone!
Cheesy Garlic Chicken Wraps Recipe FAQs
How should I select the right chicken for these wraps?
Absolutely! For the best flavor and convenience, I recommend using rotisserie chicken. It’s pre-cooked and packed with flavor, saving you time in the preparation process. If you prefer, you can also use grilled or baked chicken breast that you cook ahead of time—just make sure it’s juicy, as dry chicken will affect the overall taste of your wraps.
What’s the best way to store leftover cheesy garlic chicken wraps?
Very simple! Store any leftover wraps in an airtight container in the fridge for up to 3 days. If you want to keep them fresh and ready for quick meals, you can also individually wrap them in plastic wrap before placing them in the container. This way, the wraps won’t dry out or lose flavor!
Can I freeze cheesy garlic chicken wraps? How should I do it?
Absolutely! To freeze, first let your cheesy garlic chicken wraps cool completely. Then, wrap each one tightly in aluminum foil or plastic wrap to prevent freezer burn. Place the wrapped wraps in a freezer-safe bag or container. They can be stored for up to 3 months in the freezer! To reheat, thaw in the fridge overnight and reheat in a skillet for about 5-7 minutes until heated through and crispy.
What should I do if the filling spills out while toasting the wraps?
The more the merrier! If your filling ever spills out while toasting, don’t worry! Simply reduce the amount of filling for the next wraps. Ensure that you fold the tortillas snugly to prevent overstuffing. Another trick is to toast the wraps seam-side down first, allowing them to seal better before flipping them over.
Are these wraps suitable for gluten-free diets?
Absolutely! You can make these cheesy garlic chicken wraps gluten-free by substituting regular tortillas with gluten-free options found in most grocery stores. Plus, you can customize the fillings to make sure they align with your dietary needs—enjoying a delicious meal without compromise is key!
What ingredients should I avoid if I have allergies?
Great question! If you have allergies, be cautious with ingredients like cheese and garlic. You can substitute with dairy-free cheese or leave out the garlic. Always read labels to ensure that all ingredients are safe for your dietary restrictions—there are plenty of alternatives available!
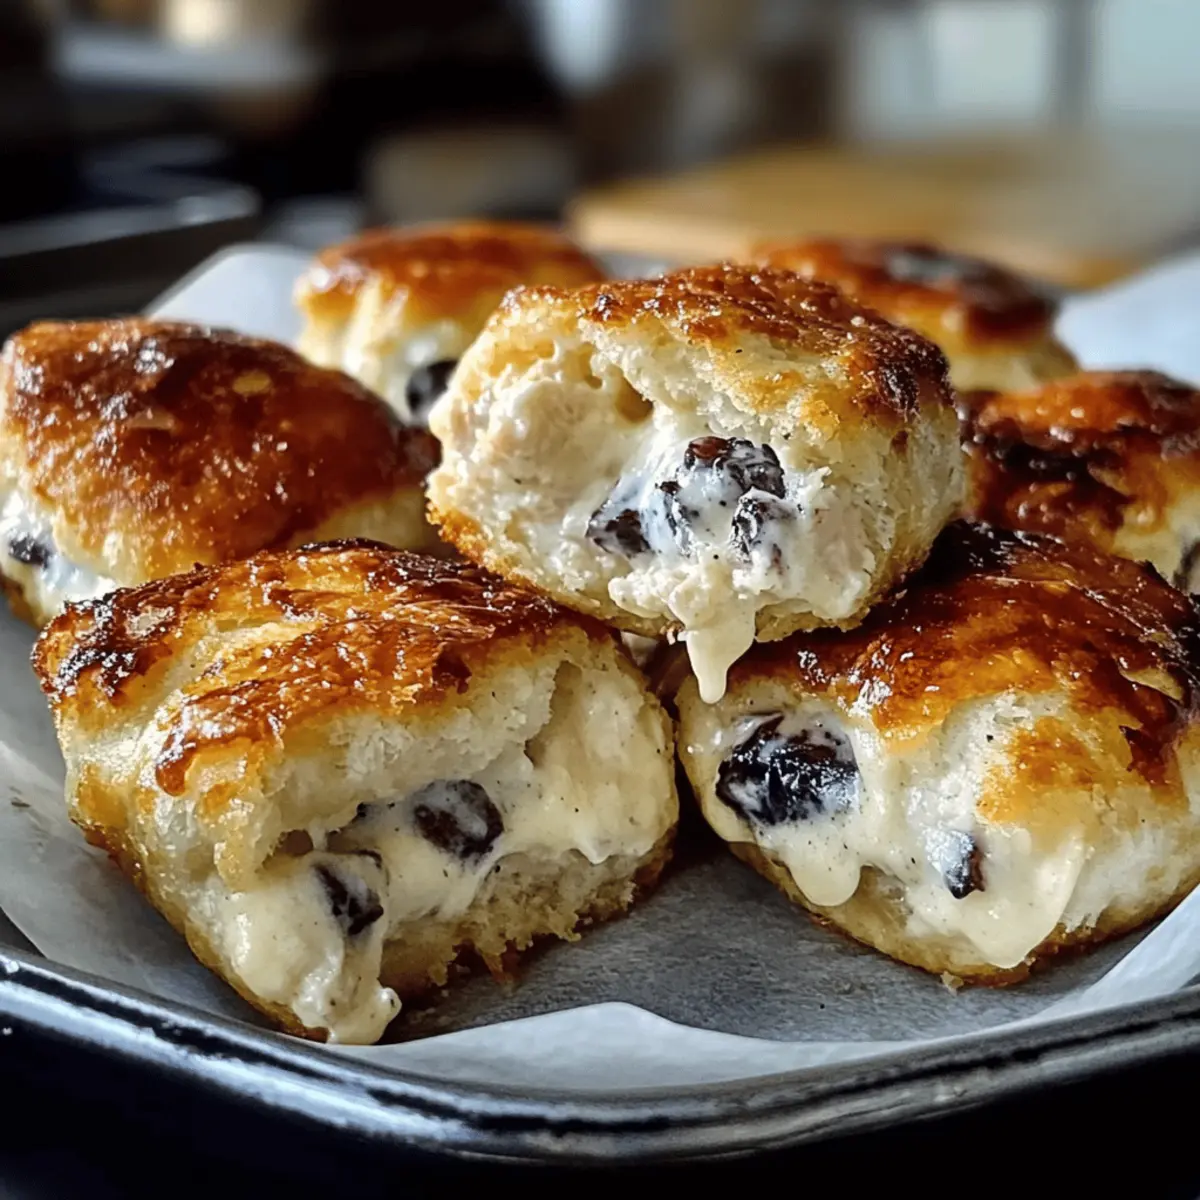
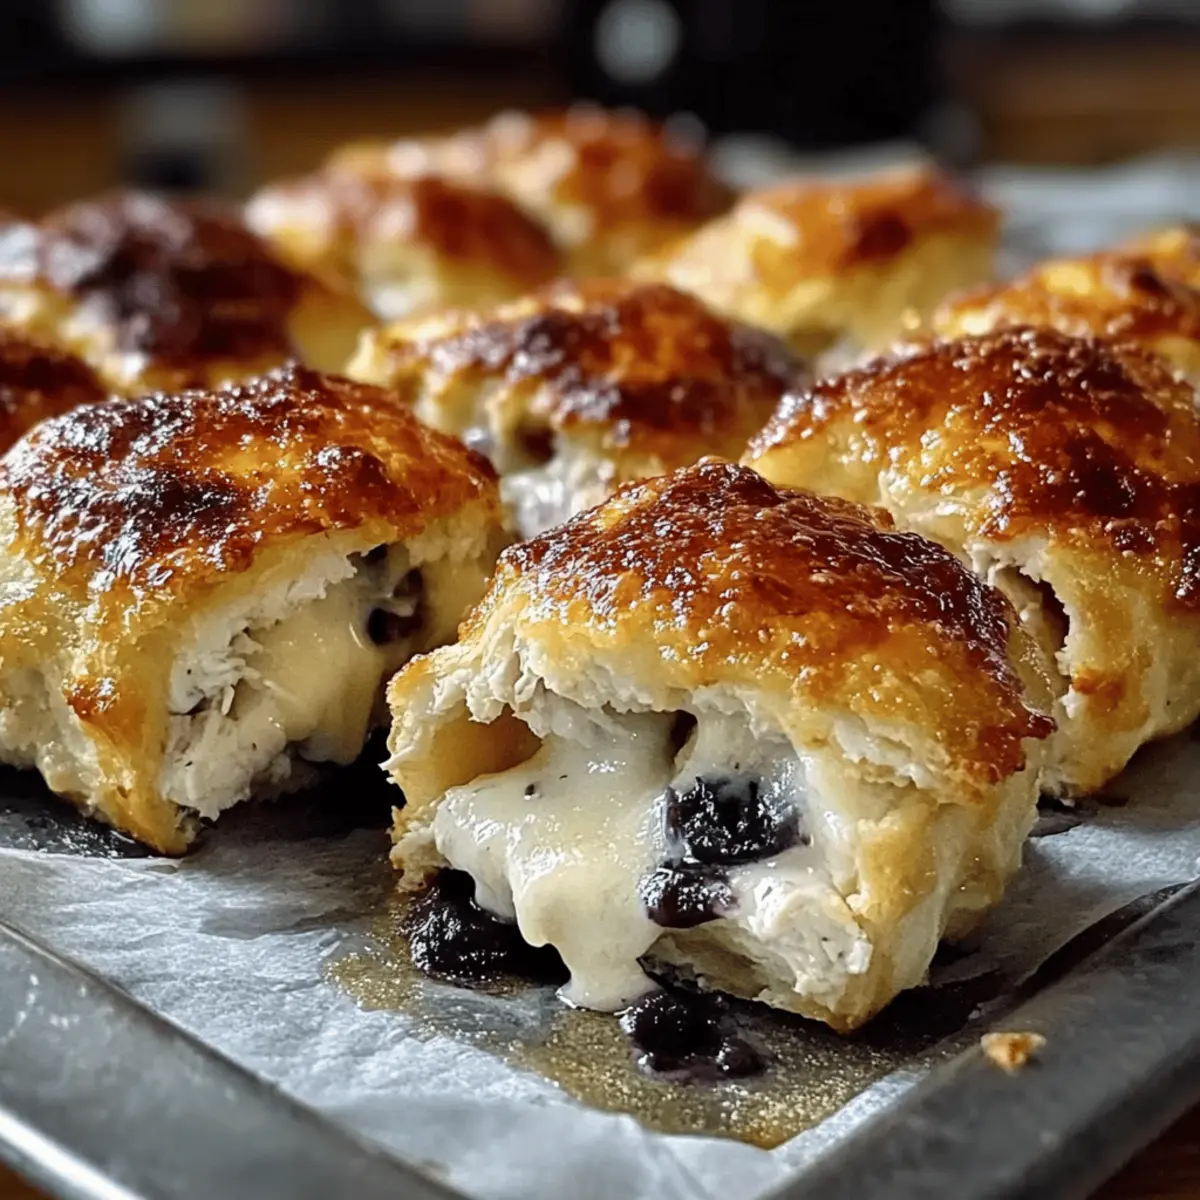
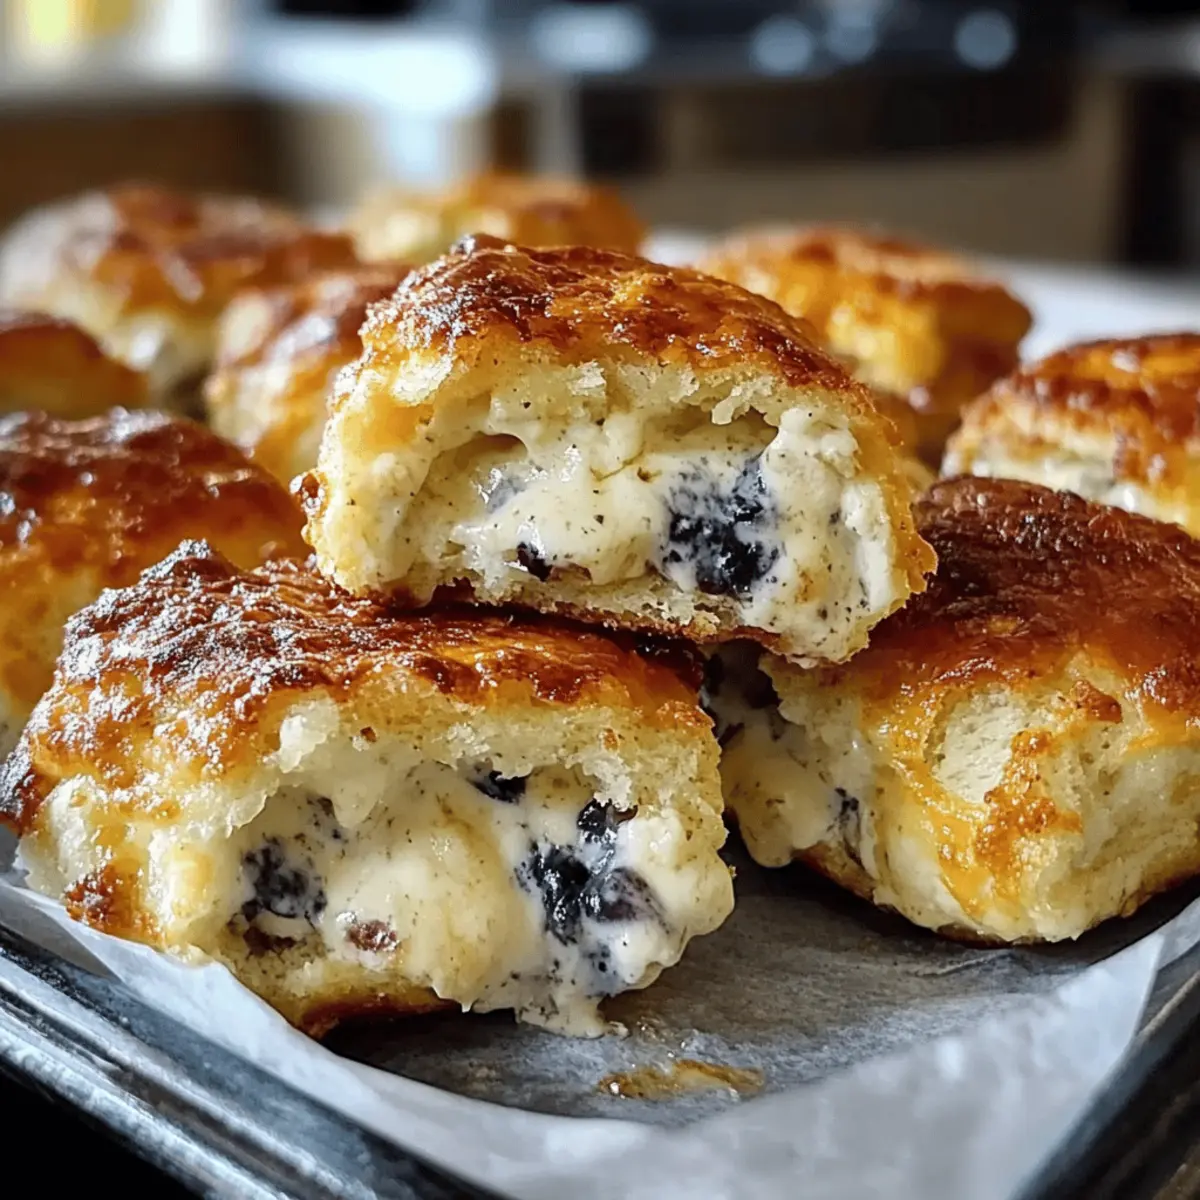
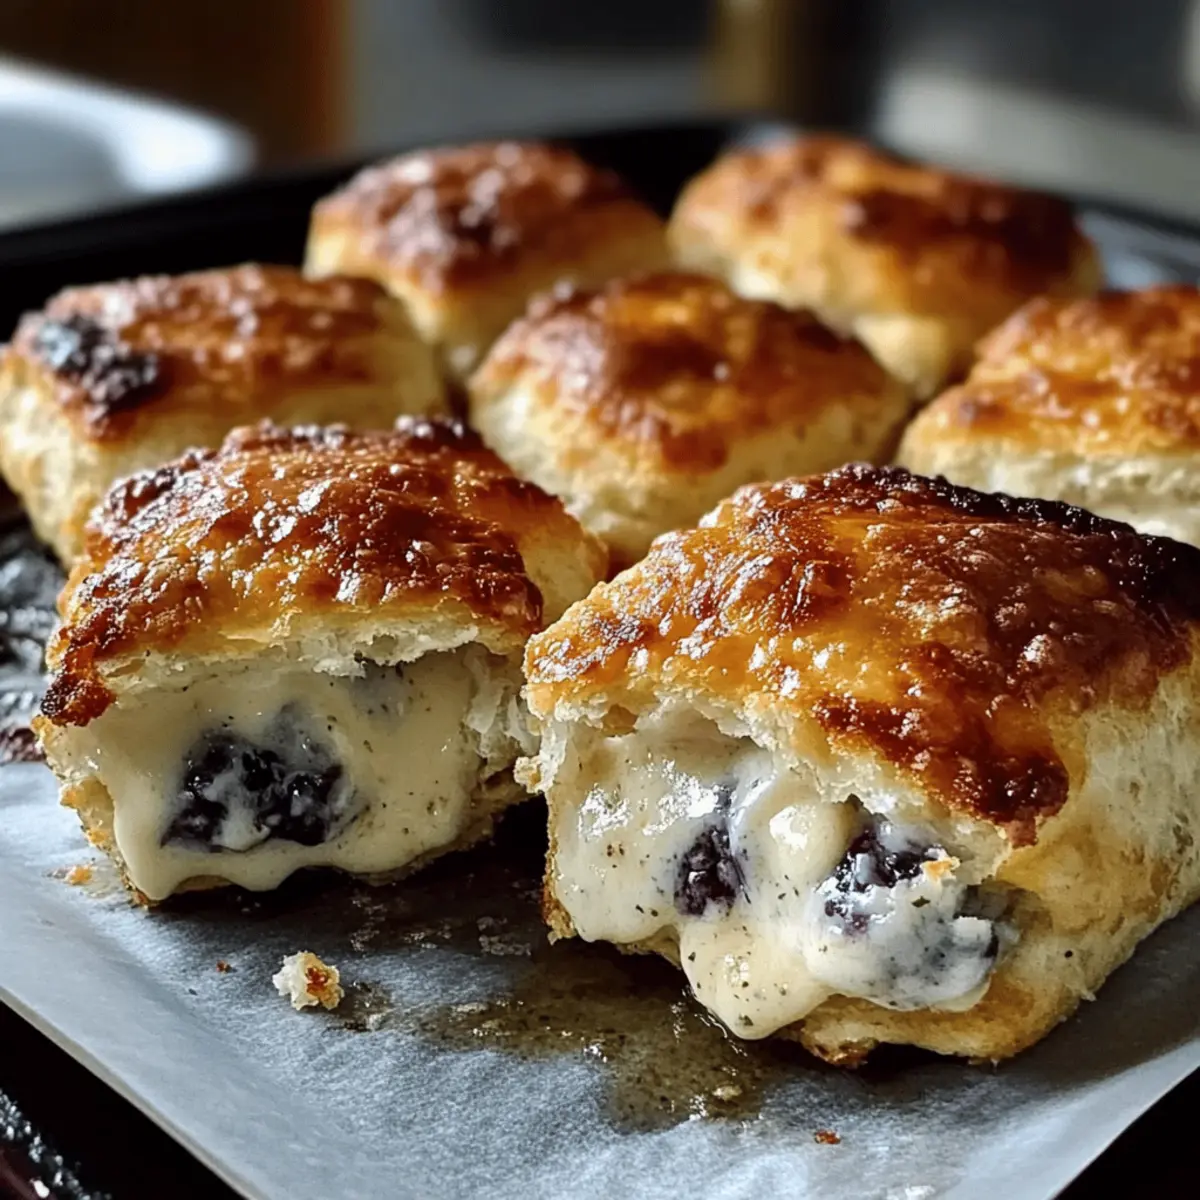
Deliciously Fluffy Blueberry Biscuits for Breakfast Bliss
Ingredients
Equipment
Method
- Preheat the oven to 425°F (220°C) and line a baking sheet with parchment paper.
- In a mixing bowl, whisk together flour, baking powder, salt, and sugar.
- Cut in the cold butter using a pastry cutter or your fingers until the mixture resembles coarse crumbs.
- Stir in the buttermilk until just combined, then gently fold in the blueberries.
- Turn the dough onto a floured surface and pat it into a rectangle about 1-inch thick.
- Cut the biscuits out using a round cutter and place them on the baking sheet.
- Bake for 15-20 minutes until the tops are golden.
- Remove from the oven and let cool for 5 minutes before serving.
Leave a Reply