
As I flipped through my recipe book, the scent of garlic lingered in the air, reminding me of cozy nights spent cooking with loved ones. That’s when it struck me—why not create something that merges comfort with simplicity? Enter my Cheesy Garlic Chicken Wraps! This dish is a warm embrace of juicy chicken, melty cheese, and aromatic garlic, all snugly wrapped in a soft tortilla. Not only are they a crowd-pleaser for quick weeknight dinners, but they also adapt beautifully for gatherings or casual lunches with friends. Plus, you can easily customize them with gluten-free options or various delicious fillings to fit your taste. Ready to wrap up a comforting meal that will have everyone asking for seconds? Let’s dive into this delightful recipe and make mealtime magic together!
Why are Cheesy Garlic Chicken Wraps a Must-Try?
Irresistible Comfort: The combination of melty cheese and juicy chicken brings warmth to any meal.
Quick & Easy: Perfect for busy weeknights, these wraps come together in no time, allowing you to enjoy homemade goodness without the hassle.
Customizable Options: Easily swap ingredients like chicken or tortillas to cater to your dietary needs or personal preferences.
Crowd-Pleasing Appeal: Serve them at gatherings or family dinners and watch everyone eagerly reach for more! Consider pairing them with a fresh green salad or even some French Dip Biscuits for a delightful spread.
Flavor Explosion: Infused with aromatic garlic, each bite is a burst of flavor that elevates your mealtime experience.
Cheesy Garlic Chicken Wrap Ingredients
Let’s gather everything we need to create these delightful Cheesy Garlic Chicken Wraps!
For the Chicken
- Chicken – Provides protein and heartiness; substitute with rotisserie or cooked ground chicken for convenience.
For the Filling
- Garlic – Adds bold flavor; use fresh minced garlic for the best taste.
- Olive Oil – Perfect for sautéing garlic and chicken; substitute with butter for a richer flavor.
- Cheese – Delivers creaminess; choose mozzarella or swap for pepper jack to add heat or gouda for extra richness.
For the Wrap
- Tortillas – The structure of the wrap; can be replaced with gluten-free or low-carb tortillas if desired.
- Butter – Creates a crispy exterior when grilling; brush on outside for added taste.
For Garnish
- Parsley – Optional garnish; adds freshness and a pop of color to your wraps.
Whether you keep it traditional or explore substitutions, these wraps are sure to bring comfort and joy to your dining table!
Step‑by‑Step Instructions for Cheesy Garlic Chicken Wraps
Step 1: Cook Chicken
Start by seasoning your chicken with salt and pepper. Then, heat a skillet over medium heat and add a splash of olive oil. Cook the chicken for about 6-8 minutes, turning periodically, until the chicken is cooked through and no longer pink in the center. Once done, remove from heat, let it cool slightly, and dice it into bite-sized pieces.
Step 2: Prepare Garlic Oil
In the same skillet, add a drizzle of olive oil over medium heat. Toss in the minced garlic and sauté for approximately 30 seconds, stirring constantly until it becomes fragrant and golden. Be careful not to let it burn, as that can lead to bitterness. The garlic will form a flavorful base for your cheesy garlic chicken wraps.
Step 3: Combine
Now, add your diced chicken to the skillet with the sautéed garlic. Stir well, allowing the chicken to absorb those rich flavors for about 2-3 minutes. Then, sprinkle in your cheese of choice—mozzarella or gouda works wonders. Continue stirring until the cheese melts beautifully into a gooey mixture, completely coating the chicken.
Step 4: Assemble Wraps
Take a tortilla and lay it flat on a clean surface. Scoop a generous portion of the cheesy chicken mixture into the center. Then, fold in the sides and roll it up tightly, ensuring the filling stays snug inside. Repeat with the remaining tortillas until all the filling is used up, creating delicious cheesy garlic chicken wraps.
Step 5: Toast Wraps
In a clean skillet, melt some butter over medium heat. Once melted, place your wraps seam-side down in the skillet. Toast each wrap for 2-3 minutes on one side until golden brown and crisp, then carefully flip and repeat on the other side. The toasting will give your wraps a delightful crunch, complementing the gooey filling.
Step 6: Rest & Serve
Once toasted, remove the wraps from the skillet and let them rest for 1-2 minutes. This will help set the filling. If desired, slice the wraps in half for easier serving. Sprinkle with fresh parsley for a touch of color and added freshness. These cheesy garlic chicken wraps are now ready to delight your family and friends at mealtime!
Cheesy Garlic Chicken Wrap Variations
Feel free to get creative with these wraps! Each variation is a delicious twist waiting to be explored.
-
Ground Chicken: Swap diced chicken for cooked ground chicken or turkey to make preparation a breeze. It’s a fantastic way to use up leftovers while keeping flavors intact.
-
Spicy Kick: For those who love heat, incorporate crushed red pepper flakes or sliced jalapeños. This adds an exciting zing, making every bite a flavor adventure.
-
Veggie Delight: Add sautéed vegetables like spinach, bell peppers, or mushrooms for a nutritious twist. The added veggies not only enhance flavor but also introduce fresh textures.
-
Cheese Variety: Try swapping mozzarella for cheddar, gouda, or even pepper jack. Each cheese creates a unique flavor profile with its creamy, melty characteristics.
-
Gluten-Free Wraps: Use gluten-free tortillas to cater to dietary needs without sacrificing flavor or texture. They provide the same comforting wrap experience everyone loves.
-
Herbed Garlic: Mix in fresh herbs like basil or cilantro to the filling for an aromatic lift. These herbs bring a fresh, vibrant taste while taking your wraps to another level.
-
Savory Sauces: Drizzle some ranch or buffalo sauce inside the wrap for an extra layer of flavor. A tasty sauce can elevate the taste and make every bite even more satisfying.
-
Burst of Citrus: Squeeze fresh lime or lemon juice into the mixture before assembling for a zesty brightness. It contrasts beautifully with the richness of the cheese and enhances everything!
No matter how you choose to customize, you’re sure to create an unforgettable wrap experience. Don’t forget to check out these delightful Garlic Chicken Wraps to dive even deeper into deliciousness!
What to Serve with Cheesy Garlic Chicken Wraps
These delightful wraps are all about rustic comfort and flavorful combinations, making them perfect for creating a cozy, satisfying meal.
-
Fresh Green Salad: A light, crunchy salad adds a refreshing contrast to the warm, cheesy wraps. Toss with a tangy vinaigrette to brighten the dish.
-
Seasoned Potato Wedges: Crispy, golden potato wedges seasoned with spices provide a hearty side that complements the wraps’ soft, gooey texture. Adding a creamy dip makes it even more indulgent.
-
Homemade Tomato Soup: A warm bowl of tomato soup offers a comforting dip for your wraps, enhancing the overall flavor experience with its rich acidity.
-
Garlicky Roasted Vegetables: Roasted veggies, like bell peppers and zucchini, add color, flavor, and nutrition while tying in nicely with the garlicky theme of your meal.
-
Corn on the Cob: Fresh, sweet corn elevates the meal with its bright flavor and crunchy sweetness. Try grilling for an extra smoky note!
-
Chilled White Wine: A crisp, chilled white wine, such as Sauvignon Blanc, refreshes the palate and pairs beautifully with the savory wraps, creating a delightful dining experience.
-
Fruit Salad: A vibrant fruit salad adds a sweet, juicy element to the table, balancing the richness of the cheesy wraps and making for a well-rounded meal.
-
Coleslaw: Crunchy and tangy, coleslaw can offer a zesty contrast that revitalizes the taste buds with each bite of the warm wraps.
-
Slushy Lemonade: Brighten up your mealtime with slushy lemonade—its sweet and tart flavors provide the perfect refreshing accompaniment.
-
Brownies: For a sweet ending, serve fudgy brownies as a dessert to complement the savory flavors of your meal with something rich and irresistible.
Make Ahead Options
These Cheesy Garlic Chicken Wraps are perfect for meal prep enthusiasts! You can cook the chicken and prepare the garlic oil up to 24 hours in advance. Simply store the cooked chicken in an airtight container in the refrigerator, and keep the garlic oil separate to maintain freshness. Additionally, you can assemble the wraps and refrigerate them for up to 3 days; just make sure to wrap them tightly to prevent them from drying out. When you’re ready to serve, toast them in a skillet for about 2-3 minutes per side until golden brown. This method ensures every bite remains just as delicious and satisfying!
Expert Tips for Cheesy Garlic Chicken Wraps
-
Avoid Garlic Burn: Make sure to sauté garlic gently; burnt garlic can lend a bitter taste to your wraps.
-
Extra Nutrition: Consider adding sautéed spinach or bell peppers for added flavor and nutrients in your cheesy garlic chicken wraps.
-
Crispy Rest Time: Allow wraps to rest for a couple of minutes after toasting. This prevents the filling from spilling out when sliced.
-
Select the Right Tortilla: Choose a sturdy tortilla to hold the filling. If using gluten-free options, ensure they are pliable for easy wrapping.
-
Customize Your Cheese: Feel free to mix and match cheese varieties to suit your taste; gouda adds creaminess, while pepper jack gives a spicy kick!
How to Store and Freeze Cheesy Garlic Chicken Wraps
Fridge: Store leftover cheesy garlic chicken wraps in an airtight container for up to 3 days. This keeps them fresh and ready for quick reheating.
Freezer: You can freeze wraps for up to 2 months. Wrap each individually in plastic wrap, then store in a freezer bag to prevent freezer burn.
Reheating: For the best texture, reheat frozen wraps in a skillet over medium heat until heated through and crispy, about 5-7 minutes. Avoid microwaving, as it may make them soggy.
Packing Lunch: These wraps can be packed for lunches or snacks. Just make sure they’re wrapped securely to keep them intact and delicious!
Cheesy Garlic Chicken Wraps Recipe FAQs
How do I choose the right chicken for my wraps?
Absolutely! When selecting chicken, look for fresh, boneless cuts that are pink and firm. If choosing rotisserie chicken, ensure it’s tender and flavorful. For convenience, pre-cooked ground chicken is also a great substitute, cutting your prep time in half.
How should I store leftover cheesy garlic chicken wraps?
Very simple! Place the leftover wraps in an airtight container and refrigerate them for up to 3 days. Just make sure they’re fully cooled before sealing to keep them fresh. This way, you can enjoy them as a quick meal later in the week!
Can I freeze cheesy garlic chicken wraps?
Absolutely! To freeze, first, allow the wraps to cool completely. Then, wrap each one tightly in plastic wrap, followed by aluminum foil, and store them in a freezer bag. They can be frozen for up to 2 months. When you’re ready to enjoy, just reheat in a skillet for the best crispy texture.
What should I do if my garlic burns during cooking?
Oh no! If this happens, discard the burnt garlic immediately as it can ruin the flavor of your dish. Start over by heating fresh olive oil again, this time keeping a close eye on it. Sauté the new minced garlic for just 30 seconds until fragrant—this way, you can avoid that bitter taste!
Are these wraps suitable for gluten-free diets?
Very much so! You can easily make cheesy garlic chicken wraps gluten-free by using gluten-free tortillas. Just check the labels to ensure they are certified gluten-free, and you’re all set to enjoy this cozy dish without worries!
Can I add extra ingredients to my wraps?
Absolutely! The more the merrier! Feel free to incorporate sautéed vegetables like spinach, mushrooms, or bell peppers into the cheesy mixture for added nutrition and flavor. You could also use different cheeses or add spices to tailor the wraps to your taste. Enjoy experimenting!
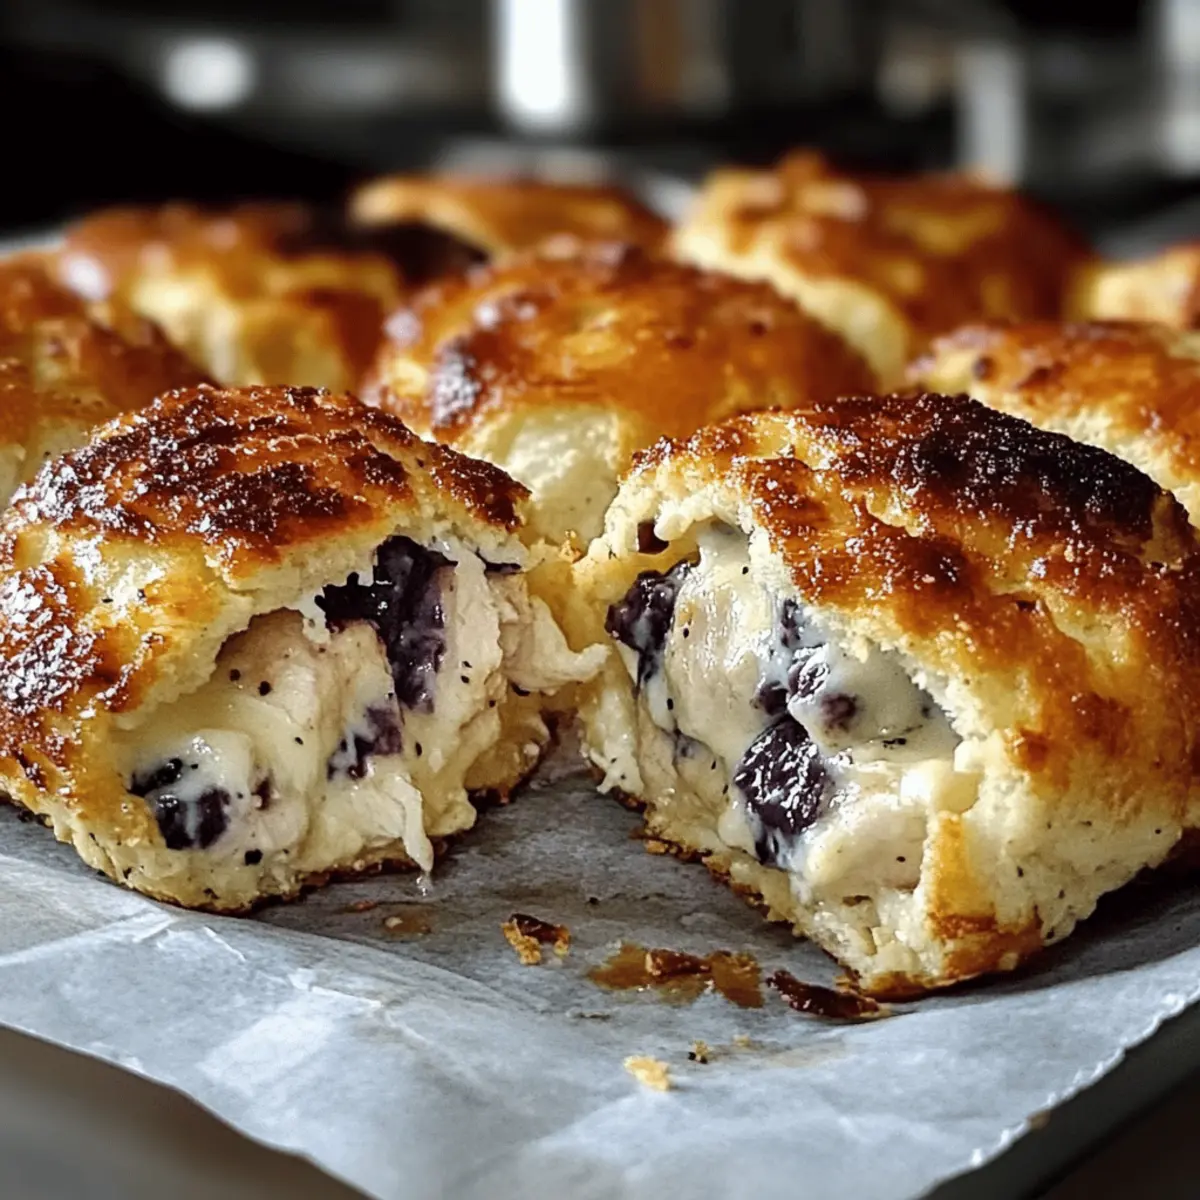
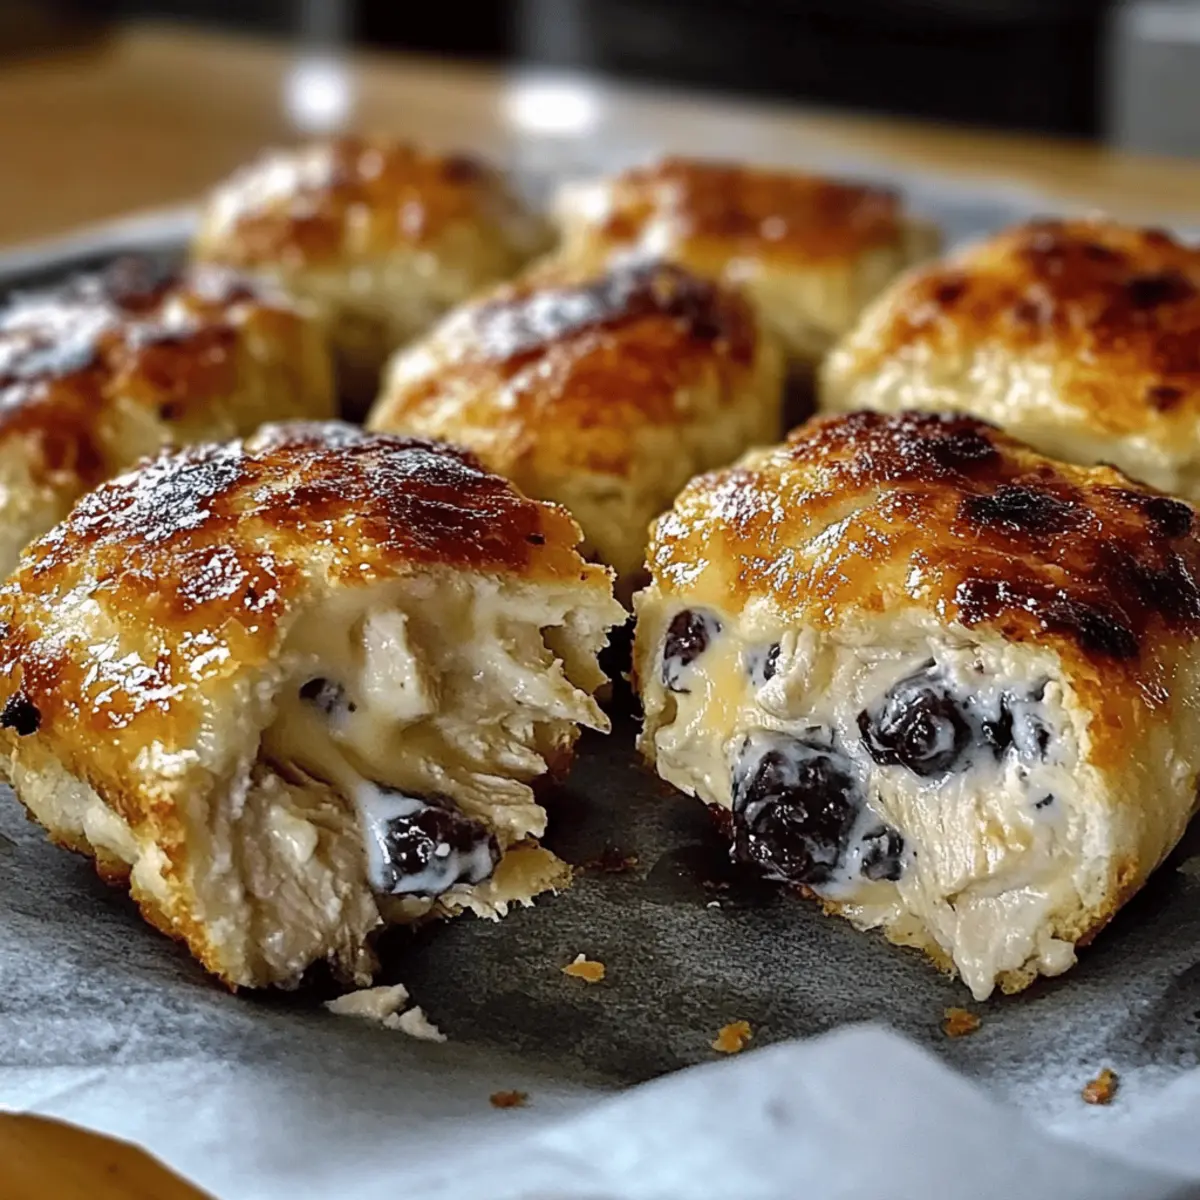
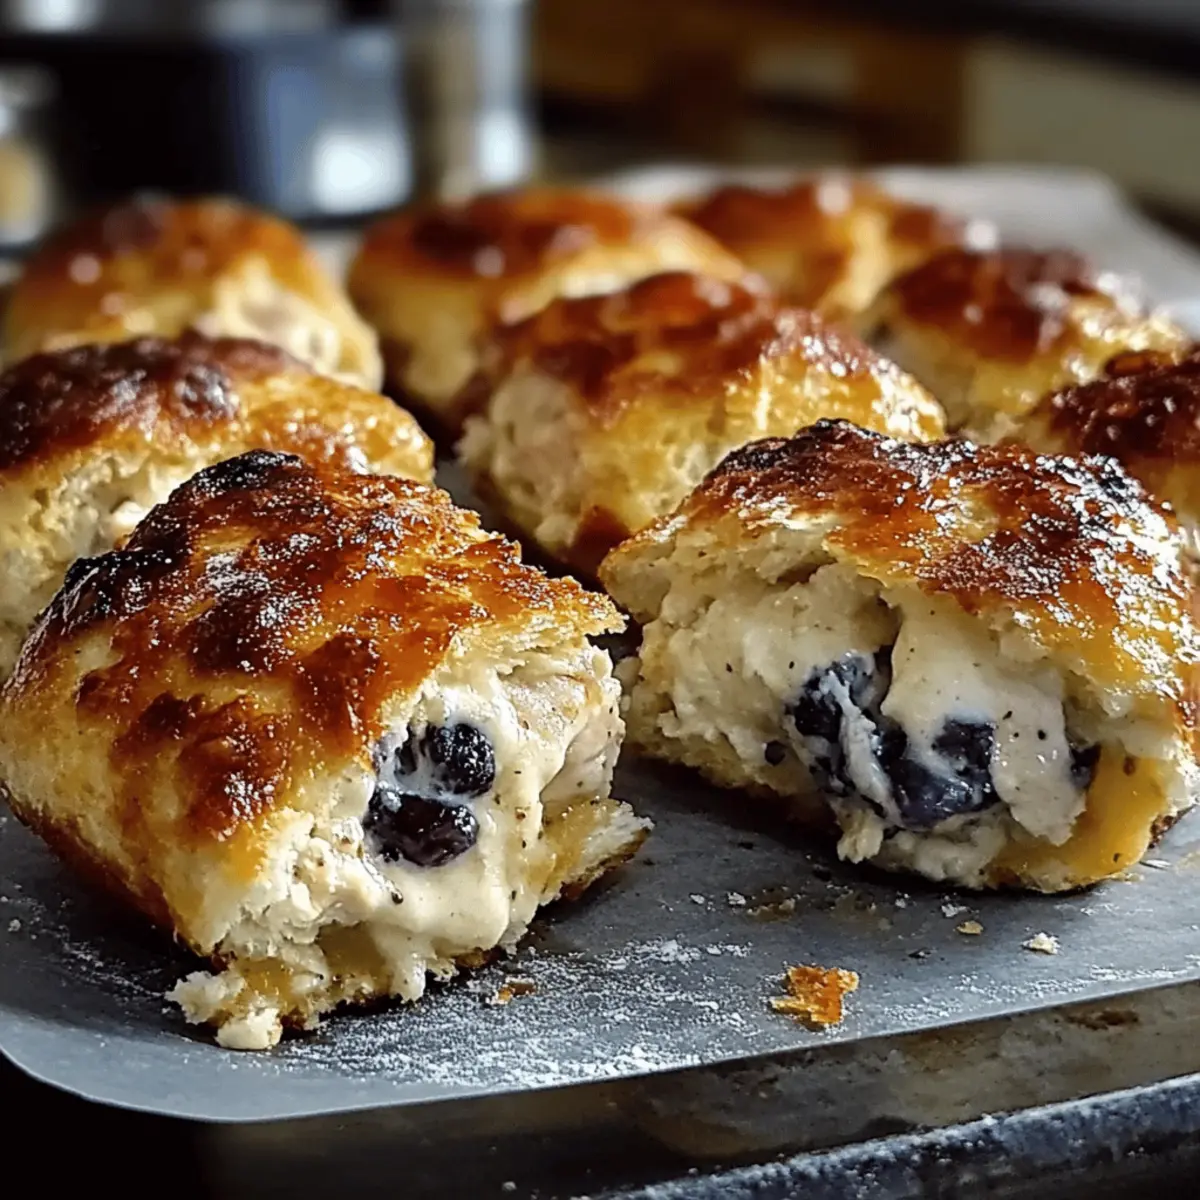
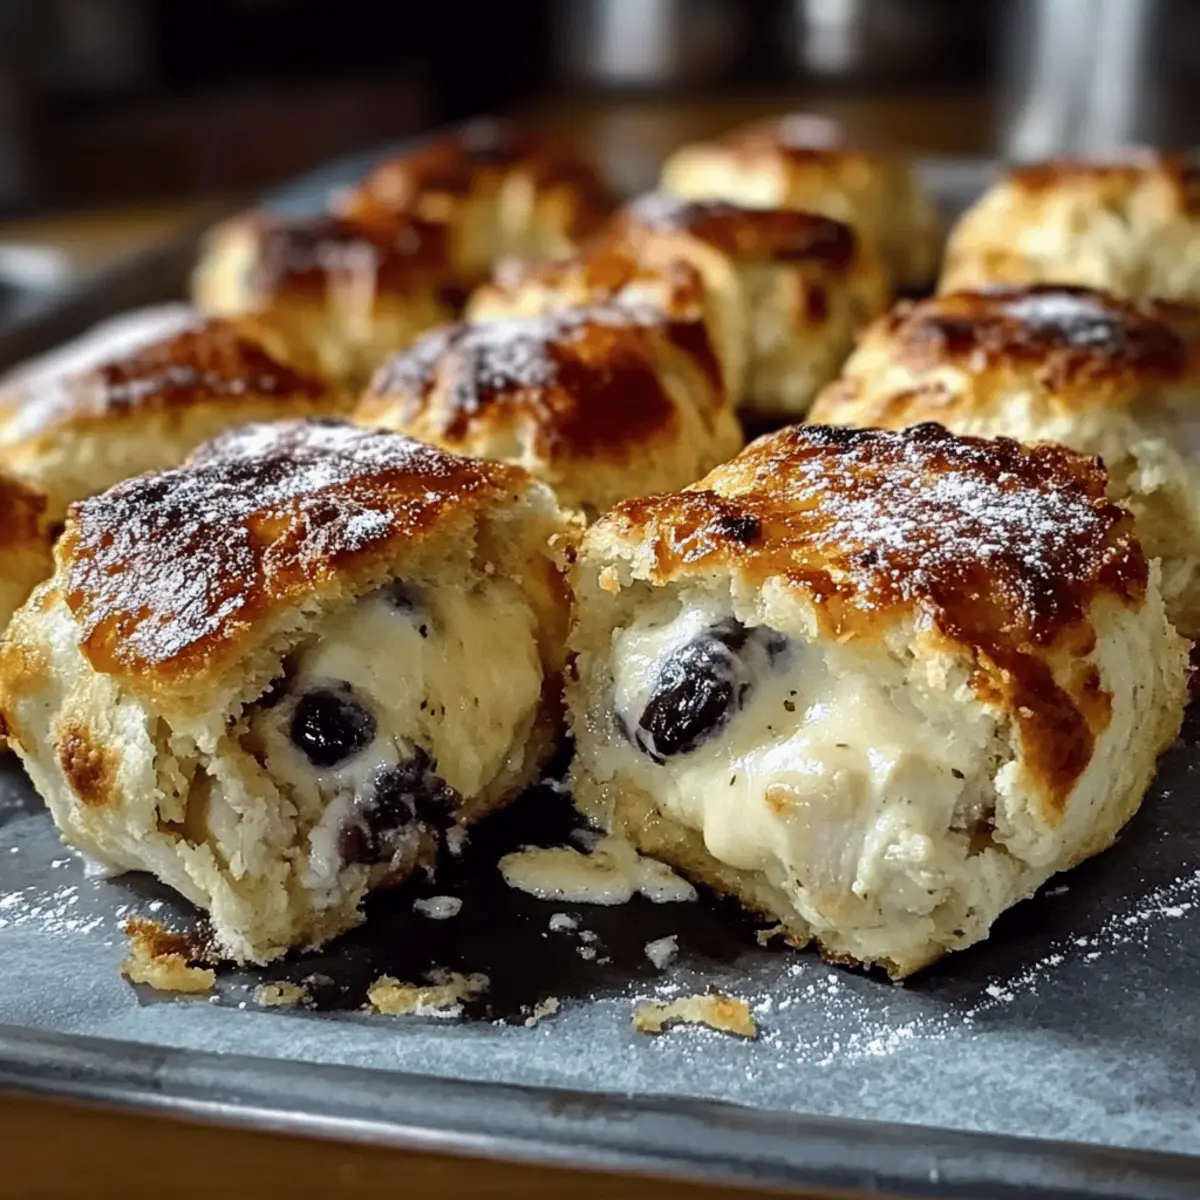
Flaky Blueberry Biscuits to Brighten Your Morning
Ingredients
Equipment
Method
- Preheat oven to 425°F (220°C). Prepare a baking sheet by lining it with parchment paper.
- In a mixing bowl, combine flour, baking powder, sugar, and salt.
- Cut in the cold butter until the mixture resembles coarse crumbs.
- Stir in the milk until the dough comes together.
- Gently fold in the blueberries.
- Turn the dough out onto a floured surface and roll it out to 1 inch thick.
- Cut out biscuits using a biscuit cutter and place them on the prepared baking sheet.
- Bake for 15-20 minutes or until golden brown.
- Remove from the oven and let cool for a few minutes before serving.
Leave a Reply