
As I watched the cheese melt and the chicken sizzle in the pan, a wave of nostalgia washed over me, recalling countless weeknight dinners filled with laughter and deliciousness. These Cheesy Garlic Chicken Wraps are not just a meal; they’re an experience waiting to happen. Perfectly gooey and delightfully crisp, they’re the quick dinner solution that fits seamlessly into a busy life while also being completely customizable. Whether you’re feeding a family or whipping up a casual gathering, these wraps are a guaranteed crowd-pleaser. Plus, with options for gluten-free tortillas and a variety of cheese choices, you can easily cater to everyone’s tastes. What flavors will you add to make them your own?
Why are Cheesy Garlic Wraps a Must-Try?
Simplicity: Preparing these wraps is a breeze, making them perfect for even the busiest weeknights.
Customizable: You can easily swap out cheeses or throw in favorite vegetables, creating a dish that fits your unique palate.
Crowd-Pleaser: They’re a guaranteed hit at any gathering, evoking smiles and compliments from family and friends.
Time-Saving: Ready in just a few steps, these wraps allow you to enjoy a satisfying meal without fuss.
Versatile: Pair them with a fresh salad or serve as tasty pinwheels for appetizers, making them suitable for various occasions.
Add a twist: If you’re in the mood for a delicious dessert, try making Chocolate Chip Sourdough to complement your meal!
Cheesy Garlic Chicken Wrap Ingredients
• Perfect for your next family meal.
For the Filling
• Chicken – Provides protein; rotisserie chicken can be a great time-saver.
• Garlic – Adds bold flavor; use freshly minced garlic for the best taste.
• Cheese (e.g., cheddar, mozzarella) – Brings meltiness; feel free to mix and match for variety.
For the Wraps
• Tortillas – The foundation; try gluten-free or whole wheat for a healthier option.
• Olive Oil – Ideal for sautéing garlic; substitute with butter for added richness.
• Butter – Used for toasting wraps; gives that golden crispiness everyone loves.
For Garnish
• Parsley – Optional; a sprinkle adds a fresh touch before serving.
Step-by-Step Instructions for Cheesy Garlic Chicken Wraps
Step 1: Cook Chicken
Begin by preheating your oven to 375°F (190°C) if baking. Lightly season chicken pieces with salt and pepper, then bake for 20–25 minutes until fully cooked and juices run clear. Alternatively, pan-sauté or grill for 6–8 minutes until nicely browned. Once done, dice the chicken into bite-sized pieces and set aside, ready for your Cheesy Garlic Chicken Wraps.
Step 2: Sauté Garlic
In a medium-sized skillet, heat 2 tablespoons of olive oil over medium heat. Add 2-3 minced garlic cloves and sauté for about 30 seconds to 1 minute until the garlic is fragrant and lightly golden. Be careful not to let it burn, as you want that lovely garlic aroma to permeate without bitterness, enhancing the flavor of your wraps.
Step 3: Combine Chicken and Cheese
Add the diced chicken to the skillet with the sautéed garlic, stirring well to coat the chicken in the garlicky goodness. Now it’s time to get cheesy! Sprinkle in your choice of shredded cheese, like cheddar or mozzarella, and mix until melted and gooey, about 2-3 minutes. This delicious filling creates the heart of your Cheesy Garlic Chicken Wraps.
Step 4: Assemble Wraps
Take a warm tortilla and place a generous portion of the cheesy chicken mixture in the center. Carefully fold the sides over the filling, then roll up tightly to form a secure wrap. Repeat this process with the remaining tortillas, ensuring you make each wrap a delightful pocket of cheesy chicken that’s ready to be toasted.
Step 5: Toast Wraps
In the same skillet, melt 1 tablespoon of butter over medium heat. Place the wraps seam-side down into the hot skillet, cooking for about 2-3 minutes until the bottoms are golden brown and crispy. Gently flip the wraps and repeat on the other side. This step creates a satisfying crunch that perfectly complements the melty filling inside.
Step 6: Slice and Serve
Once your Cheesy Garlic Chicken Wraps are golden and crispy on both sides, remove them from the skillet and let them rest for a minute. This helps the cheese set slightly for easier slicing. Cut them in half diagonally and serve warm, optionally garnished with chopped parsley for a fresh finish. Enjoy these delicious wraps with your favorite dipping sauce or sides!
What to Serve with Cheesy Garlic Chicken Wraps
These wraps are not just a meal; they’re a delightful centerpiece for your dinner table, perfect for creating a cozy family feast.
-
Crisp Green Salad: Light and refreshing, a simple green salad with a zesty vinaigrette balances the richness of the wraps.
Consider adding mandarin oranges or avocado for a pop of color and flavor that elevates the dining experience. -
Seasoned Potato Wedges: Crispy on the outside and fluffy inside, these wedges pair perfectly with the cheesy flavor.
Toss them with herbs or spices for an extra kick that compliments the garlic in your wraps. -
Tomato Soup: A warm bowl of tomato soup serves as the perfect dipping companion, enhancing the savory notes of your meal.
Its creamy texture allows for every bite to be soaked in delightful flavor while adding warmth on chilly evenings. -
Roasted Veggies: Vibrant roasted vegetables such as bell peppers and zucchini provide a deliciously sweet contrast to the savory wraps.
Their charred edges enhance the natural sweetness, making every bite satisfying and nutritious. -
Homemade Guacamole: Creamy and vibrant, freshly made guacamole adds an exciting creaminess that contrasts with the crispy wraps.
Serve it alongside for a delightful flavor combo that brings friends and family together around the table. -
Refreshing Lemonade or Iced Tea: A glass of freshly squeezed lemonade or iced tea quenches thirst and elevates any meal occasion.
The bright acidity of lemonade complements the richness of the wraps, creating a perfectly balanced meal experience.
Make Ahead Options
These Cheesy Garlic Chicken Wraps are a fantastic choice for meal prep, saving you precious time on busy weeknights! You can prepare the chicken and cheese filling and store it in the refrigerator for up to 3 days. Simply cook and dice the chicken, then sauté it with garlic and cheese as per the instructions, allowing it to cool before transferring to an airtight container. Wraps can also be assembled and refrigerated for up to 24 hours; just remember to keep them wrapped tightly to maintain crispness. When you’re ready to enjoy, toast them in a skillet until golden brown and crispy for restaurant-quality results with minimal effort!
Variations & Substitutions for Cheesy Garlic Chicken Wraps
Feel free to get creative with these wraps and tailor them to your taste buds. The possibilities are as delightful as they are delicious!
- Vegetable Delight: Add fresh spinach, bell peppers, or sautéed onions for extra flavor and nutrition. Mixing in different veggies can create a refreshing crunch.
- Spicy Kick: For those who love heat, toss in sliced jalapeños or sprinkle red pepper flakes into the chicken mixture. It’s a great way to awaken your taste buds!
- Herbed Twist: Incorporate fresh herbs like basil or cilantro for an aromatic flavor boost that elevates the overall experience of your wraps. A sprinkle of freshness goes a long way!
- Low-Carb Option: Substitute regular tortillas with low-carb or lettuce wraps for a healthier, gluten-free alternative. You won’t sacrifice flavor but will embrace a lighter bite.
- Cheese Lovers: Try mixing various cheeses such as gouda, pepper jack, or blue cheese for a unique flavor profile that tantalizes the palate. Each combination offers a new dimension of deliciousness!
- Creamy Addition: Spread a light layer of cream cheese or avocado before adding the chicken filling; it adds creaminess and richness that harmonizes beautifully with the garlic.
- Quick Version: Use leftover rotisserie chicken for a super-fast meal solution. Just mix it in with the garlic and cheese for a tasty option in a snap.
- Snack Size: Cut wraps into smaller pinwheels for appetizers. These are perfect for gatherings and pair well with dipping sauces like ranch or spicy aioli.
Enhance your meal experience and maybe even try whipping up some flavorful Garlic Chicken Wraps to complement the wraps perfectly!
Storage Tips for Cheesy Garlic Chicken Wraps
- Room Temperature: Serve Cheesy Garlic Chicken Wraps immediately for the best flavor and texture; they should not sit out for more than 2 hours.
- Fridge: Store any leftovers in an airtight container for up to 3 days; reheat carefully to maintain that delicious crispiness.
- Freezer: Freeze unassembled wraps tightly wrapped in foil or plastic wrap; they can be stored for up to 2 months. Thaw overnight in the fridge before reheating.
- Reheating: For optimal results, reheat in a skillet over medium-low heat for 5–6 minutes per side, ensuring they are warmed through and crispy.
Expert Tips for Cheesy Garlic Chicken Wraps
-
Garlic Boost: Brush the tortillas with garlic butter before toasting to intensify the flavor of your Cheesy Garlic Chicken Wraps.
-
Texture Matters: For a perfectly crispy wrap, avoid overfilling; too much filling can lead to soggy edges and make turning them tricky.
-
Reheat Wisely: Keep leftovers fresh by reheating in a skillet or toaster oven. Microwaving can turn your wraps limp and sad—nobody wants that!
-
Cheese Choices: Experiment with different cheeses! Mixing cheddar, mozzarella, or even spicy pepper jack creates layers of flavor in your wraps.
-
Veggie Additions: Sneak in healthy fillings like spinach, bell peppers, or mushrooms for extra nutrition and a pop of color in your Cheesy Garlic Chicken Wraps.

Cheesy Garlic Chicken Wraps Recipe FAQs
What type of chicken should I use for these wraps?
Using rotisserie chicken is a fantastic option for convenience and flavor, allowing you to skip cooking from scratch. If you have fresh chicken, just season and cook it, then dice into bite-sized pieces to add into your wraps. Ground chicken can also provide a different texture, making these wraps even more adaptable.
How do I store leftovers of Cheesy Garlic Chicken Wraps?
After enjoying your wraps, store any leftovers in an airtight container in the fridge for up to 3 days. To reheat, use a skillet over medium-low heat for about 5-6 minutes per side, which will help restore that delightful crispness. Avoid microwaving to prevent the wraps from becoming soggy.
Can I freeze Cheesy Garlic Chicken Wraps?
Absolutely! For freezing, wrap unassembled wraps tightly in plastic wrap or foil—this helps prevent freezer burn. They can be stored in the freezer for up to 2 months. When you’re ready to enjoy them, thaw your wraps in the fridge overnight and then reheat as usual in a skillet.
What are some common mistakes to avoid when making these wraps?
One common pitfall is overfilling the wraps! Stick to a generous but manageable amount of the cheesy chicken mixture to prevent spillage while toasting. Another tip is to keep an eye on the garlic; sauté it just until golden to avoid bitterness. Lastly, remember not to rush the cooking process; allowing the wraps to toast properly will yield the best crispy texture.
Are there any dietary considerations with Cheesy Garlic Chicken Wraps?
Yes, if you’re making these wraps for others, consider dietary preferences or restrictions. You can easily opt for gluten-free tortillas and substitute with non-dairy cheese for a lactose-free option. Always double-check for allergies related to specific cheeses or ingredients, especially if adding in veggies or spices!
What variations can I try for Cheesy Garlic Chicken Wraps?
There are plenty of ways to customize! Think about adding sautéed veggies like spinach, bell peppers, or mushrooms for an extra nutritional boost. For those who enjoy a bit of heat, diced jalapeños or a sprinkle of red pepper flakes can add a delightful kick. Feel free to mix cheese choices; a combination of cheddar and pepper jack yields wonderful layers of flavor while keeping the melty goodness central!
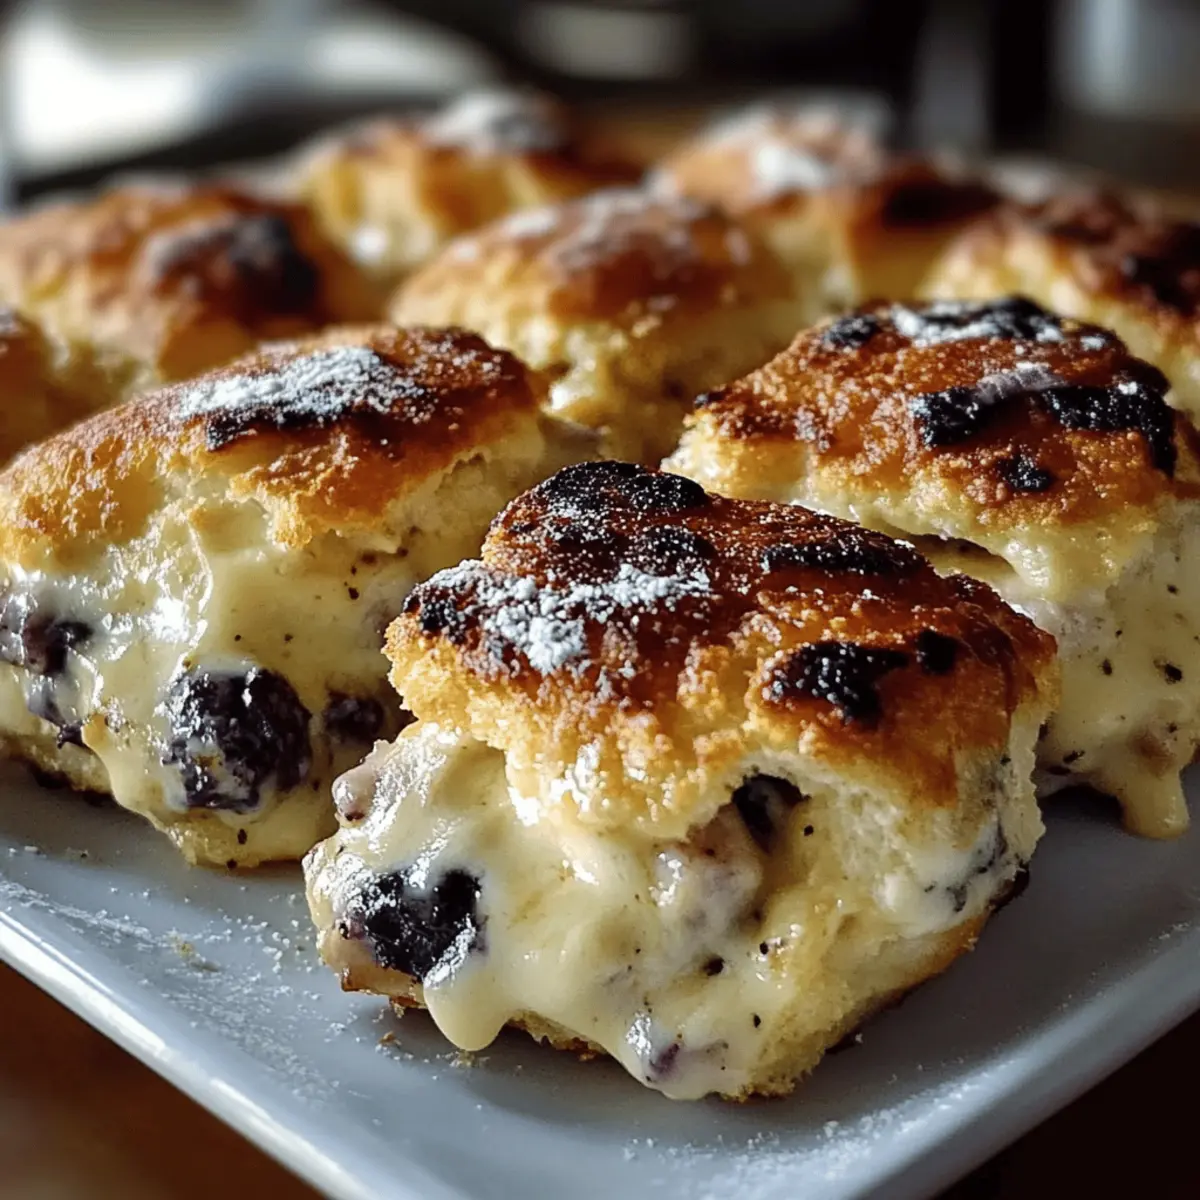
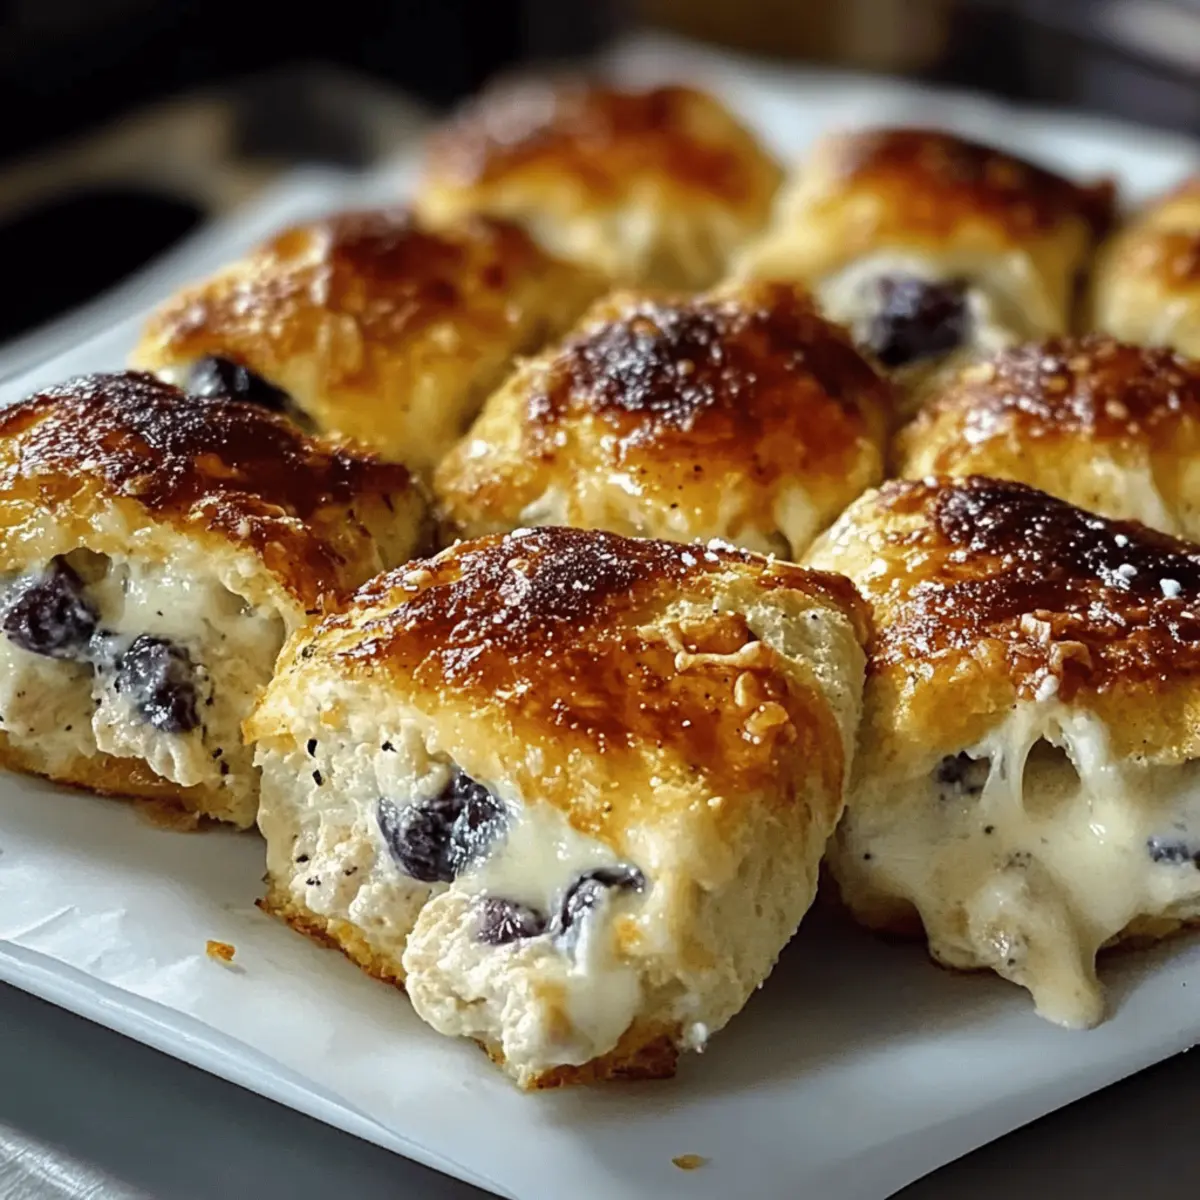
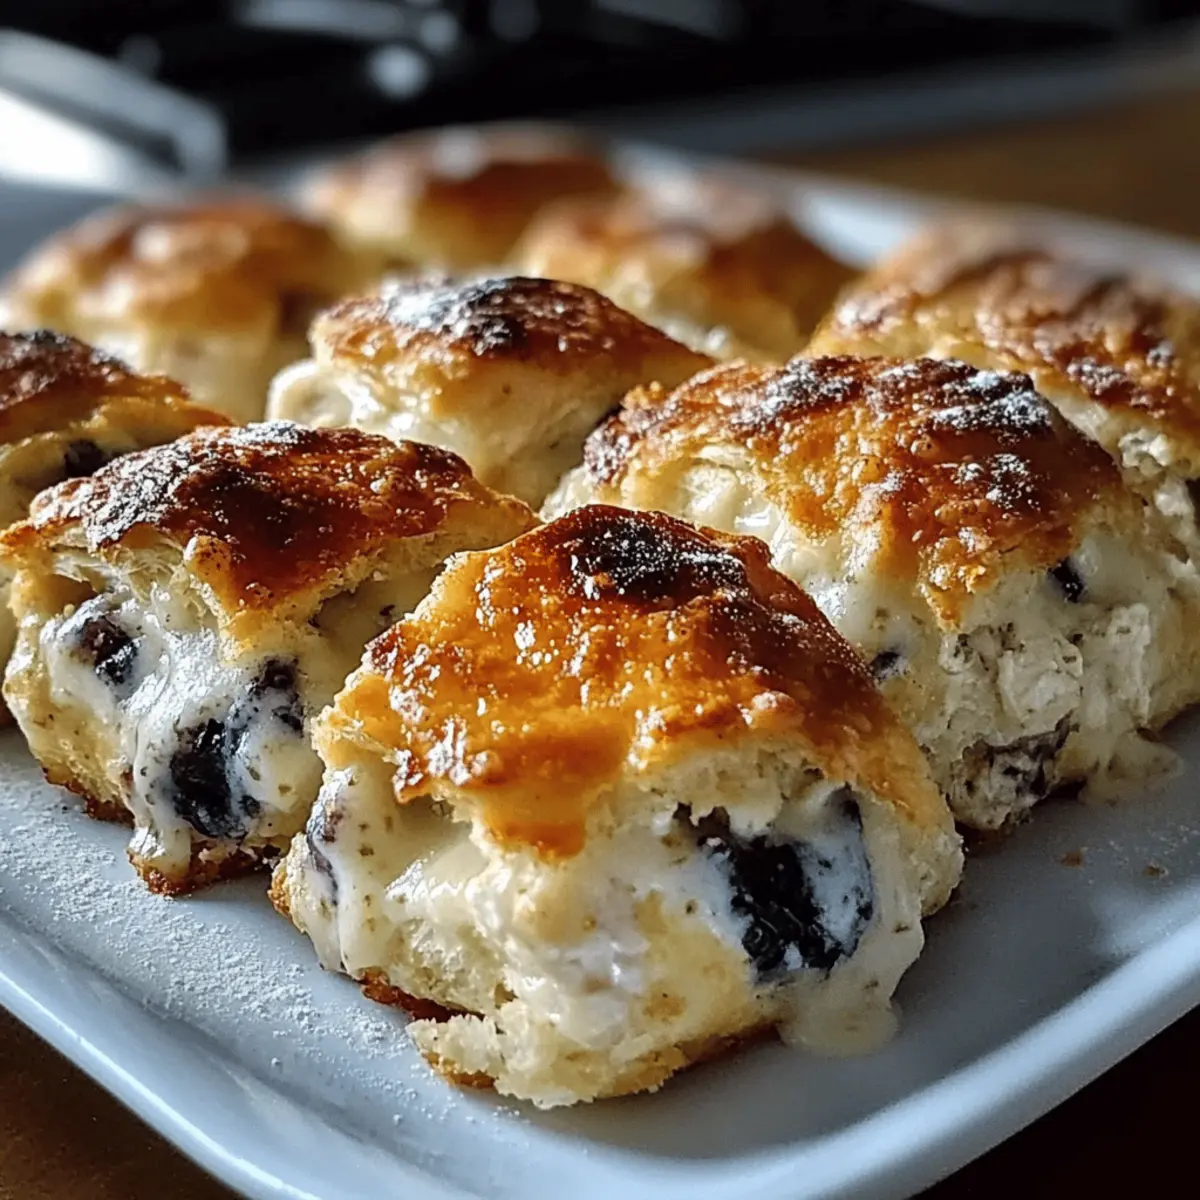
Fluffy Blueberry Biscuits That Melt in Your Mouth
Ingredients
Equipment
Method
- Preheat your oven to 400°F (200°C) and line a baking sheet with parchment paper.
- In a mixing bowl, whisk together the flour, baking powder, sugar, and salt.
- Cut in the cold butter until the mixture resembles coarse crumbs.
- Stir in the milk until just combined, then gently fold in the blueberries.
- Turn the dough out onto a floured surface, knead lightly, then roll out to about 1-inch thickness.
- Cut out biscuits using a round cutter and place on the prepared baking sheet.
- Bake for 15-20 minutes or until golden brown on top.
- Remove from the oven and let cool slightly before serving.
Leave a Reply